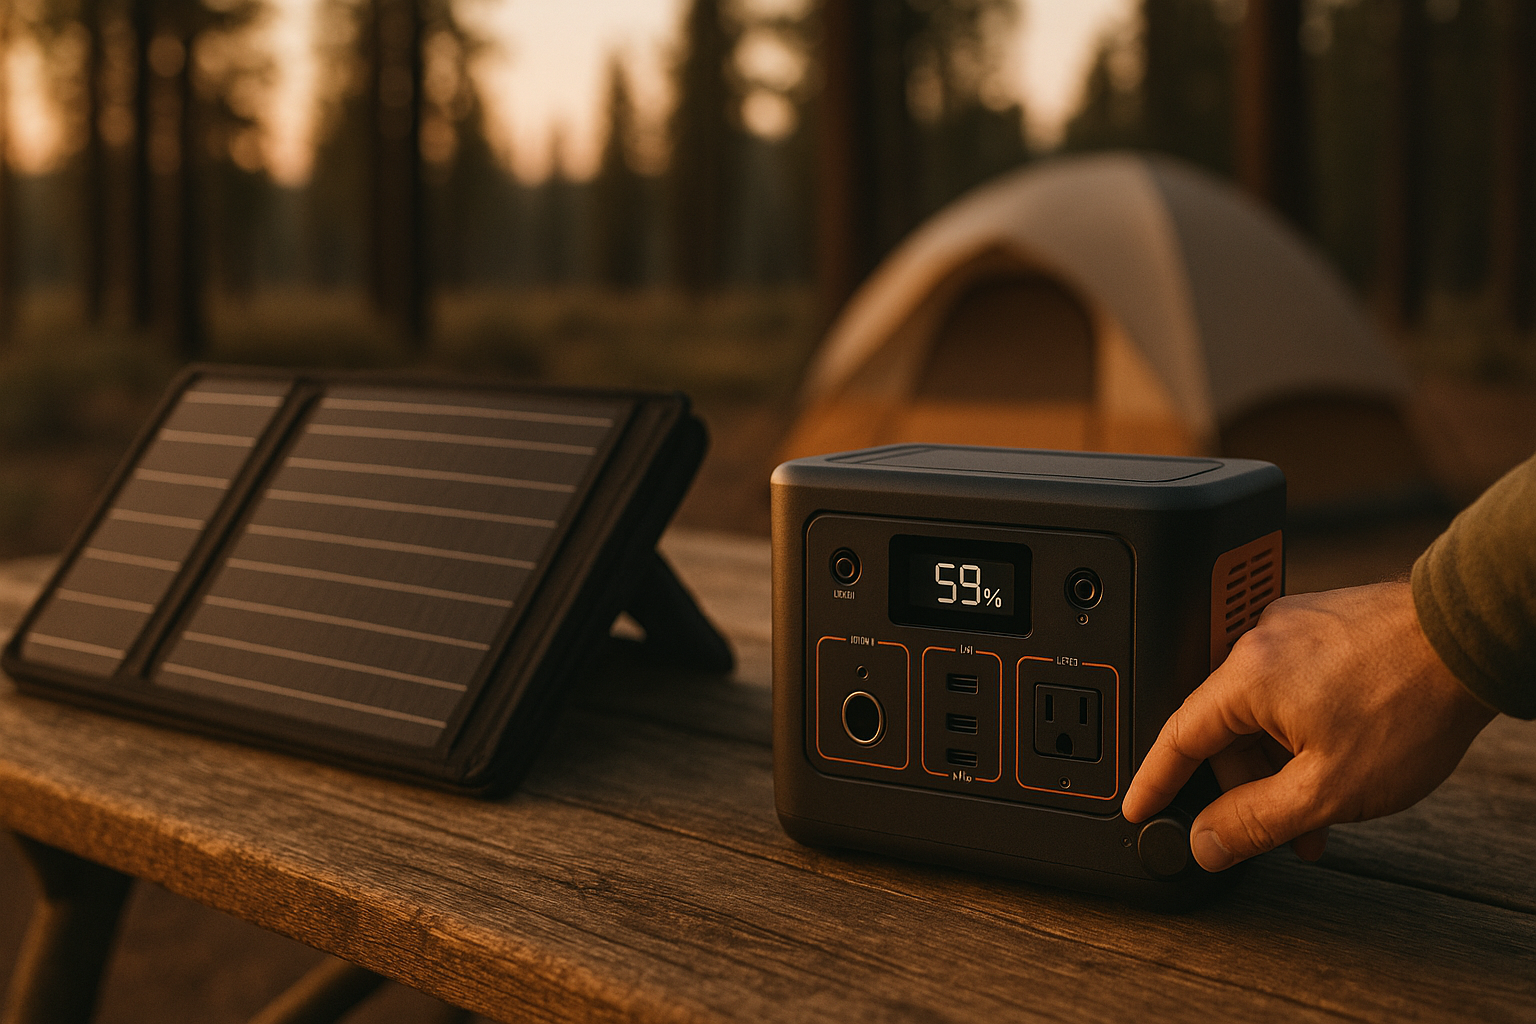
How Much Solar Power for Camping? Wattage Calculator
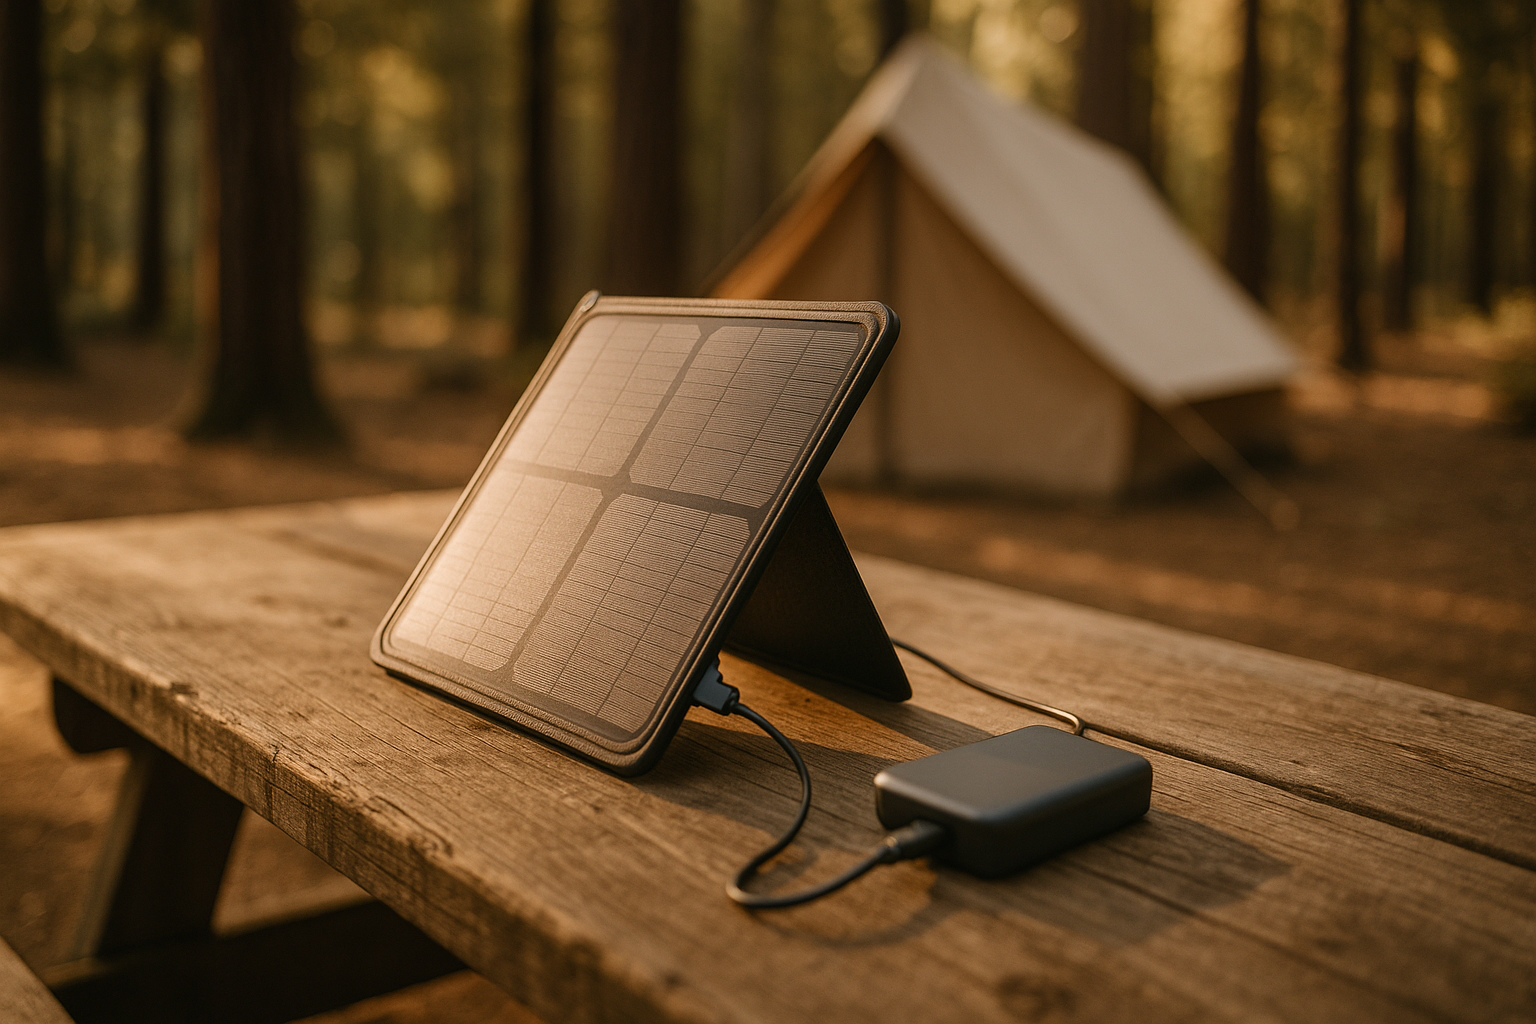
How Much Solar Power Do You Need for Camping?
Figuring out solar wattage for camping isn’t guesswork—it’s arithmetic. You need to match your daily power draw to the system’s generation and storage capacity. This guide walks you through the calculation, gives you real-world scenarios, and helps you right-size a setup so you’re not stuck with dead batteries or an oversized rig.
Quick Sizing by Trip Type
Car camping (established campground, 2–5 nights) Most campers in this scenario need 100–300 watts of solar and a 300–500 Wh battery. You’re powering a fan, LED lights, phone charging, and maybe a small cooler—modest daytime loads with recharge time available.
Off-grid backcountry (tent camping, 3–7 nights, no hookups) Plan for 200–500 watts of solar and 500–1500 Wh of battery. You’ll have limited daylight charging windows and higher evening loads (lights, water pump, radio).
RV or van camping (weeks to months) 500–2000 watts of solar and 2000–10000 Wh of battery are typical. Larger fridge, water heater, and extended cloudy-weather buffer matter here.
Weekend car camping with minimal load (just phones and a light) 50–100 watts of solar and 100–200 Wh of battery often suffice. A single portable panel and a small power station cover it.
The Wattage Calculator: Step by Step
Step 1: List Your Devices and Their Power Draw
Write down everything you’ll use and its wattage. Check device labels, manuals, or spec sheets.
Common camping devices and typical power draw: - LED camping lantern: 5–15 W - Rechargeable headlamp: 2–5 W (while charging) - Smartphone: 5–10 W (while charging) - Laptop: 30–65 W (while charging) - Portable cooler (12V): 40–60 W - Camping fan (12V): 10–20 W - Water pump (12V): 10–30 W - Bluetooth speaker: 5–15 W (while charging) - Drone: 100+ W (while charging, very brief) - Coffee maker or electric kettle: 800–1500 W (not practical for solar camping)
Be honest about usage. Don’t list the coffee maker if you’re actually brewing cold brew. Don’t count a laptop if you won’t open it.
Step 2: Estimate Daily Usage Hours
For each device, estimate how many hours per day you’ll run it.
| Device | Wattage | Hours/Day | Daily Wh |
|---|---|---|---|
| LED lantern | 10 W | 4 h | 40 Wh |
| Phone charging | 8 W | 1 h | 8 Wh |
| Camping fan | 15 W | 3 h | 45 Wh |
| Headlamp (charging) | 3 W | 0.5 h | 1.5 Wh |
| Bluetooth speaker | 10 W | 2 h | 20 Wh |
| Total daily draw | — | — | ~115 Wh |
Step 3: Add a 20–30% Buffer
Solar systems don’t run at peak efficiency. Clouds, dust, angle, and battery losses eat into ideal output. Add 20–30% to your calculated draw.
115 Wh + 25% = ~144 Wh minimum daily requirement
For the example above, you’d want a system that can reliably deliver 150+ Wh per day.
Step 4: Calculate Battery Capacity Needed
Your battery must store enough to cover a full day of use plus a cloudy-day buffer.
- Sunny location, 1–2 day trip: 1× daily draw
- Typical camping, 3–5 days: 1.5× to 2× daily draw (one cloudy day buffer)
- Extended trip or cloudy region: 2.5× to 3× daily draw
Using the 150 Wh daily requirement:
- Short sunny trip: 150 Wh battery (tight, not recommended)
- Typical 3–5 day trip: 225–300 Wh battery
- Week-long or cloudy region: 375–450 Wh battery
Step 5: Size Your Solar Panels
Your solar array must recharge the battery and cover daytime loads simultaneously.
Rule of thumb: Plan for 3–5 watts of solar per 1 Wh of battery capacity, per industry standard, depending on your location’s average peak sun hours.
- Sunny southwest (4–5 peak sun hours/day): 3 watts per Wh of battery
- Temperate zone (3–4 peak sun hours/day): 4 watts per Wh
- Cloudy/northern region (2–3 peak sun hours/day): 5 watts per Wh
For a 300 Wh battery in a temperate zone: 300 Wh × 4 W per Wh = 1200 watts of solar
That sounds huge, but remember: you’re not running 1200 W continuously. You’re running a 300 W panel for ~4 hours, which generates 1200 Wh—enough to recharge the battery and run daytime loads.
In practice: A 200–400 W portable solar panel array covers most camping trips.
Real-World Scenarios
Scenario 1: 2-Night Car Camping, Moderate Load
Devices: Phone (2 devices), LED lantern, small fan, Bluetooth speaker Daily draw: ~120 Wh Trip duration: 2 nights Location: Temperate zone
Calculation: - Battery needed: 120 Wh × 1.5 (one-day buffer) = 180 Wh - Solar needed: 180 Wh × 4 W/Wh = 720 W, round to 300 W portable panels
Real-world setup: - Renogy 200W portable solar panel - Jackery Explorer 300 (293 Wh capacity) - Cost: mid-tier investment, covers most casual campers
Scenario 2: 3–5 Night Weekend Trip, Minimal Load
Devices: Phone, headlamp, small LED light, water pump Daily draw: ~80 Wh Trip duration: 3–5 nights Location: Temperate zone, some cloud risk
Calculation: - Battery needed: 80 Wh × 2 (one-day buffer) = 160 Wh - Solar needed: 160 Wh × 4 W/Wh = 640 W, round to 200–300 W portable panels
Real-world setup: - Anker 625 Solar Panel (100W) or equivalent 200W system - Goal Zero Yeti 200X (188 Wh) or similar 200–300 Wh power station - Cost: budget-friendly, proven for weekend trips
Scenario 3: Van Life / Month-Long Trips, Heavy Load
Devices: Fridge (12V, intermittent), water pump, lights, laptop, phones, fan Daily draw: ~800 Wh Trip duration: 30+ days Location: Temperate zone
Calculation: - Battery needed: 800 Wh × 2.5 (extended buffer, fridge cycling) = 2000 Wh - Solar needed: 2000 Wh × 4 W/Wh = 8000 W, round to 1000–1500 W of fixed panels
Real-world setup: - 3× Renogy 400W rigid solar panels (1200 W total) mounted on van roof - LiFePO₄ battery bank (2000+ Wh, e.g., Victron LiFePO₄ Smart 24/200S) - Victron SmartSolar 75/15 MPPT controller - Cost: premium, but justified for full-time off-grid living
Key Variables That Affect Your Calculation
Peak Sun Hours
The number of peak sun hours (equivalent full-sun hours per day) varies by location and season.
- Southwest US (Arizona, southern California): 4–5 peak sun hours year-round
- Temperate US (midwest, northeast): 3–4 hours in summer, 2–3 in winter
- Pacific Northwest: 2–3 hours year-round
- High altitude: Often 1–2 hours more than nearby lowlands
Check a solar resource map (NREL or similar) for your camping region. If you’re camping in winter in Minnesota, don’t use summer Arizona numbers.
Cloud Cover and Seasonal Variation
A cloudy week reduces output by 50–70%. If you’re camping during a season prone to overcast skies, increase your battery capacity and panel wattage by 30–50%.
Battery Chemistry
- Lead-acid (older systems): Usable depth of discharge ~50%, so a 400 Wh battery effectively gives 200 Wh usable. Add to your capacity calculation.
- LiFePO₄ (modern, recommended): Usable depth ~95%, so a 400 Wh battery gives ~380 Wh usable. More efficient, longer lifespan.
- Lithium (LiPo, older): Usable depth ~80–90%, but more fragile and temperature-sensitive.
For new purchases, modern portable power stations typically use LiFePO₄, which simplifies the math.
Panel Angle and Orientation
Solar panels generate maximum power when perpendicular to the sun. Portable panels can be angled; fixed van panels are locked at a compromise angle. A poorly angled panel loses 20–40% of potential output. If you’re using a portable system, angle it manually throughout the day for best results.
Temperature
Panels are less efficient in extreme heat (above 85°F). Cold actually helps efficiency, but low-angle winter sun reduces peak sun hours. These effects roughly balance out for most camping locations.
Charge Controller and Wiring Essentials
Once you’ve sized your solar and battery, ensure your charge controller and wiring can handle the load.
Charge controller sizing: - MPPT controllers are more efficient and recommended. Example: Victron SmartSolar 75/15 MPPT controller handles up to 75 V and 15 A, suitable for most portable and small van systems. - PWM controllers are simpler and cheaper but lose 10–30% efficiency. Fine for systems under 200 W.
Wiring: - Use marine-grade cable sized per the National Electrical Code (NEC). For runs under 20 feet with 300 W panels, 10 AWG cable is standard. For longer runs or higher wattage, use 8 AWG or larger. - Most portable solar kits include pre-sized cables; stick with them.
Inverter (if needed): - If you’re running AC devices (laptop, coffee maker), you need an inverter. - Inverter size = peak wattage of your largest AC device + 20% headroom. - A 1500 W inverter covers most camping needs; RV/van systems often use 3000–5000 W.
Budget Tiers for Common Setups
For 2-night car camping trips 100–200 W portable panel + 200–300 Wh power station = covers phone charging and basic lighting. Example: Anker 625 Solar Panel (100W) + Jackery Explorer 240 (240 Wh).
For 3–5 night weekend trips 300–400 W portable panels + 500–800 Wh battery = handles fans, pumps, multiple devices. Example: Renogy 200W panel + Goal Zero Yeti 500X (505 Wh). Most common choice for car campers.
For van life / month-long trips 1000+ W fixed or portable panels + 2000+ Wh LiFePO₄ battery = supports fridges, water heaters, and weeks off-grid. Example: 3× Renogy 400W panels + Victron LiFePO₄ Smart 24/200S.
Avoiding Common Mistakes
Underestimating battery capacity New campers often buy a 200 Wh power station and expect it to run for a week. It won’t. A cloudy day or a forgotten device drains it fast. Buy 1.5× what you think you need.
Overestimating peak sun hours If you’re camping in spring in the Northeast, don’t assume 5 peak sun hours. Use 3–3.5 and you’ll have pleasant surprises, not dead batteries.
Forgetting inverter losses If you’re running AC devices, the inverter loses 10–15% of energy as heat. Account for this in your battery and panel sizing.
Buying a fixed system for occasional trips Roof-mounted panels are great for vans and RVs, but for car camping, a portable panel is lighter, faster to set up, and easier to angle. Don’t over-engineer a weekend trip.
Ignoring temperature effects on batteries Lithium batteries (including LiFePO₄) lose capacity in cold. If you’re camping in winter, buy a system with a battery heater or use lead-acid, which performs better in cold.
FAQ
Q: Can I use solar panels in winter? A: Yes, but expect 30–50% lower output due to low sun angle and shorter days. Increase your panel wattage by 50% and battery capacity by 50% if winter camping is your priority. Cold actually improves panel efficiency, but reduced daylight hours are the limiting factor.
Q: What’s the difference between portable and fixed solar panels? A: Portable panels (100–400 W) are lightweight, foldable, and can be angled toward the sun for optimal output. Fixed panels are mounted permanently (usually on RV/van roofs) and generate consistent power but can’t be repositioned. Portable suits car camping; fixed suits long-term van life.
Q: Is a 100 W portable panel enough? A: For phones and headlamps only, yes. For anything else—fans, pumps, multiple devices—no. A 100 W panel generates ~400 Wh on a good day, which is tight even for modest loads. Start with 200 W minimum for camping trips.
Q: Do I need an MPPT controller or PWM? A: MPPT is more efficient (10–30% better) but costs more. For systems under 500 W, PWM is fine. For 500+ W, MPPT pays for itself in faster charging and better cloudy-day performance. Most modern portable kits use MPPT.
Q: What if I’m camping in a very cloudy region? A: Increase your panel wattage by 50% and your battery capacity by 50%. If your calculation says 300 W panels and 300 Wh battery, buy 450 W panels and 450 Wh battery. Cloudy regions require oversizing.
Summary
Solar power for camping is straightforward once you know your daily load, battery capacity, and local peak sun hours. Use the step-by-step calculator above to size your system, then cross-check against the real-world scenarios that match your trip type. Start conservative—it’s easier to carry extra capacity than to ration power mid-trip. Most campers find that 200–400 W of portable solar paired with a 300–500 Wh power station covers 90% of typical trips.