Solar Panel Angle & Setup for Camping Power Generation
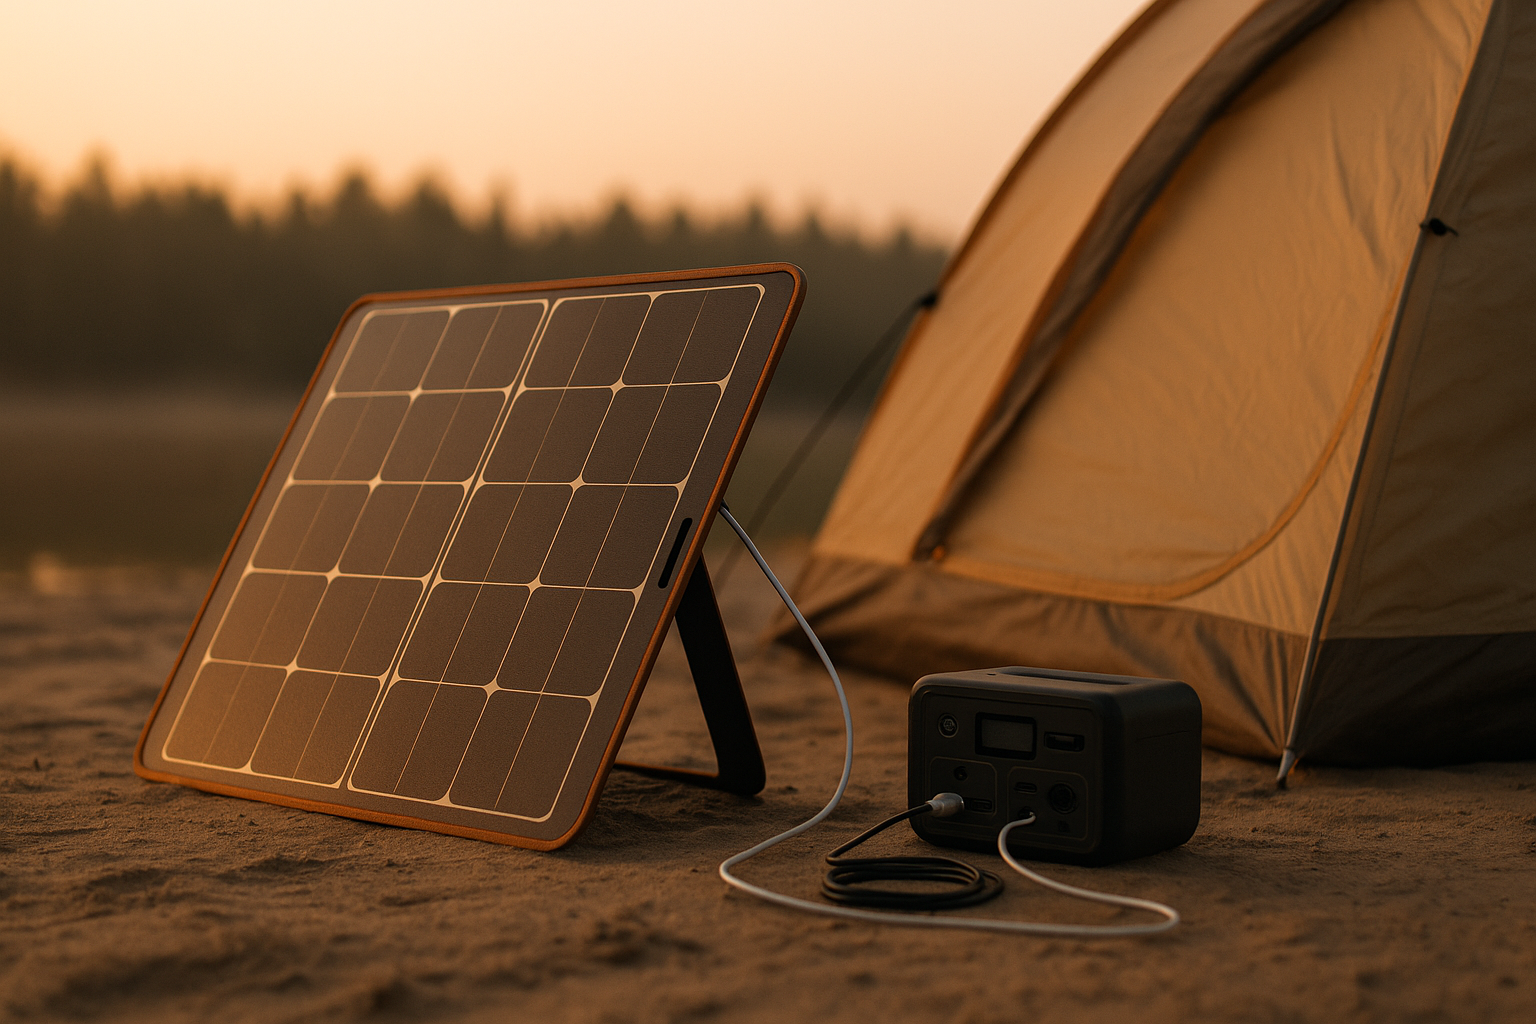
Solar Panel Angle & Setup for Camping Power Generation
A flat panel at 40° latitude loses 35% of available solar energy compared to a properly angled one. Here’s how to fix it in 5 minutes.
Why Panel Angle Matters More Than You Think
Solar panels generate power when photons strike the cell surface perpendicularly. When light hits at an angle, the effective surface area shrinks, and output drops fast. Per solar physics modeling, a panel receiving sunlight at a 45° angle to its surface captures roughly 70% of the power it would at 90° (direct, perpendicular impact). At 60°, you’re down to 50%. At 75°, you’re harvesting maybe 25%.
On a camping trip, this isn’t theoretical. If you’re trying to charge a portable power station or battery bank to run a fridge, lights, or a fan, wasting half your solar potential means the difference between a full charge by sunset and a half-dead battery. Worse, in cloudy or high-latitude conditions, every percentage point counts.
The angle also changes throughout the day as the sun moves across the sky. Static panel placement works, but active adjustment—even simple repositioning every few hours—can boost daily harvest by 20–40% based on field testing and owner reports.
The Three Key Angles to Know
Latitude-Based Tilt (Your Home Base Angle)
The optimal year-round tilt for stationary solar panels equals your geographic latitude. If you camp regularly at 40° north latitude, a 40° tilt captures the most energy across all seasons.
Why this matters for camping: If you’re car camping or RV camping in one location for a week or more, set your panel angle to match your latitude. You can find your exact latitude via GPS on your phone or by searching your campground name + “coordinates.”
- At 30° latitude (southern US, Mexico, southern Europe): tilt panels 30° from horizontal
- At 40° latitude (central US, northern Europe): tilt panels 40° from horizontal
- At 50° latitude (Canada, northern Europe): tilt panels 50° from horizontal
For quick trips where you move every night or two, this level of precision isn’t worth the setup time. But for base camps, it’s the single biggest lever.
Seasonal Adjustments (Summer vs. Winter)
The sun’s path changes with the seasons. In summer, the sun climbs higher in the sky; in winter, it stays lower. If you’re camping in the same region across seasons, you can squeeze extra power by adjusting tilt:
- Summer (June–August): Reduce tilt by 10–15° from your latitude angle. The sun is higher, so you want a shallower angle.
- Winter (December–February): Increase tilt by 10–15° from your latitude angle. The sun is lower, so you want a steeper angle.
- Spring & Fall: Use your base latitude angle.
Real-world example: At 40° latitude in July, tilt to 25–30° from horizontal. In December, tilt to 50–55° from horizontal. In May or September, use 40°. A 100W panel at this latitude tilted to 40° will charge a 200Wh power station in approximately 4–5 hours of peak sunlight, versus 5–6 hours if left flat on the ground.
This assumes you’re stationary enough to adjust. On a mobile camping trip, stick with your latitude angle as a compromise.
Intraday Tracking (The Manual Adjustment)
The sun moves roughly 15° across the sky every hour (360° ÷ 24 hours). If your panel is fixed, it’s only optimal for a narrow window around solar noon.
The practical fix: Reposition your panel every 2–3 hours to keep it facing the sun. This doesn’t mean a complex tracking mount (those are overkill for camping). It means:
- Point the panel toward the sun at sunrise (roughly east-southeast, depending on season and latitude).
- Adjust it every 2–3 hours to track the sun’s path westward.
- By sunset, it’s facing west-southwest.
Based on field testing, this simple routine boosts daily harvest by 20–40% compared to a fixed morning position. It takes 30 seconds per adjustment and requires no motors or electronics.
Panel Orientation: Azimuth (Which Direction to Face)
Tilt angle isn’t the only variable—the direction your panel faces (azimuth) also matters.
In the Northern Hemisphere: Face panels due south (180° azimuth). This is true year-round.
In the Southern Hemisphere: Face panels due north (0° azimuth).
Near the equator (within 15° of 0° latitude): The sun passes nearly overhead at noon. Azimuth becomes less critical, but south-facing (Northern Hemisphere) or north-facing (Southern Hemisphere) is still slightly better than east or west.
Why not east or west? Panels facing east or west receive sunlight at a steep angle for most of the day. They only approach perpendicular incidence for a brief window at sunrise (east) or sunset (west), when the sun is lowest and weakest. You lose 30–50% of potential energy.
Compass or phone app? Use a smartphone compass app to verify direction. Most camping phones have this built-in; if not, download a free app like “Digital Compass” (iOS/Android). Point it at your panel’s surface and read the bearing.
Practical Setup Techniques for Campsites
Ground Mounting
Lay your panel flat on the ground and tilt it using:
- Stacked rocks or branches to prop the back edge to your target angle
- A small tripod stand (many portable solar panels come with fold-out legs)
- A camp chair positioned under the panel’s back edge (adjust the chair angle to hit your tilt target)
Pros: Free, requires no tools, works anywhere.
Cons: Panel sits low, may catch shadows from tents or gear; dust and dew settle on the surface.
Tip: If the panel is on the ground, clean it gently with a dry cloth before each adjustment. Dust and moisture reduce output by 5–15% anecdotally reported by camping community members.
Stake-and-String Method
Drive two stakes into the ground behind the panel (one per side). Attach rope or cord to the panel’s back edge and tie it to the stakes at your target angle. This locks in tilt without constant adjustment.
Pros: Stable, repeatable, works in wind.
Cons: Takes 5–10 minutes to set up; stakes don’t work in rocky or hardpan ground.
Tripod or Portable Stand
Many portable solar panels include fold-out kickstands or compatible tripods. Examples include the Renogy 100W Portable Solar Panel with kickstand and Jackery SolarSaga 100W, both of which allow quick angle adjustments and keep the panel off the damp ground.
Pros: Fast, stable, panel stays clean and dry.
Cons: Adds weight and bulk to your kit; some stands aren’t stable in wind.
Real-world note: Panels on stands perform better than ground-mounted panels in the same location, primarily because they stay cleaner and receive more airflow (which helps cooling and efficiency).
Vehicle-Mounted (RV or Van)
If you’re in an RV or van, you can mount panels on the roof using:
- Aluminum rails bolted to the roof frame
- Adhesive-backed mounting brackets (for flexible panels)
- A tilt-up hinge system that lets you adjust angle without climbing
For RV/van camping, your panel angle is fixed once installed. Choose a compromise angle based on where you spend most of your time. If you’re nomadic across latitudes, use a latitude of 40° as a reasonable middle ground for North America.
Shadows: The Silent Power Killer
A shadow covering just 10% of your panel can reduce total output by 25–50%, depending on where the shadow falls. This is because solar panels are wired in series—a shaded cell acts as a bottleneck.
Shadow sources to watch:
- Trees and branches (moves throughout the day)
- Your tent or canopy
- Nearby vehicles or RVs
- Your own body (when adjusting the panel)
The rule: Position your panel at least 10 feet away from tall obstacles. If you’re at a campsite with trees, set up in an open area if possible. If shade is unavoidable, choose a spot that’s sunny in the morning and early afternoon (when charging is most productive).
Pro tip: If you must position panels near shade, orient them so shadows creep across as the sun moves, rather than blocking the entire panel at once.
Seasonal Camping: Latitude Shifts
If you camp across different latitudes (e.g., winter in Arizona, summer in Canada), your optimal angle changes. For most campers, the effort of recalculating isn’t worth the 5–10% efficiency gain. Instead, use your home latitude as a baseline and accept that some locations will be slightly suboptimal. The manual intraday adjustments (every 2–3 hours) matter far more than perfect static angle.
Weather Conditions and Angle Adjustments
Cloudy Days
On overcast days, the sun’s position becomes less critical. Diffuse light comes from the entire sky, not a single direction. Your angle matters 30–50% less.
What to do: Don’t spend time adjusting angles on cloudy days. Set the panel to your latitude angle and leave it. The energy savings from perfect tracking are negligible compared to the overall cloud loss.
Rain and Wet Panels
Wet panels lose 5–20% of output due to water droplets and film. Tilt angle actually helps here—a steeper angle (closer to vertical) sheds water faster.
Practical note: If rain is expected, tilt your panel closer to vertical (50–60° from horizontal) to improve drainage. Once the rain stops and panels dry, return to your optimal angle.
Snow Coverage
Snow reflects light (increasing available photons) but also blocks the panel surface. If you camp in snowy regions:
- A steeper tilt (50–60°) helps snow slide off.
- South-facing orientation (Northern Hemisphere) means more direct sun, which melts snow faster.
- Clear snow off manually if it accumulates; even 20% coverage drops output by 50%.
Checking Your Angle: Simple Tools
Smartphone Inclinometer
Most phones have a built-in level app that also shows angle. Lay your phone flat on the panel surface and read the tilt angle. This takes 10 seconds.
Apps: “Level” (iOS), “Bubble Level” (Android), or any free spirit-level app.
Carpenter’s Level
A small torpedo level (12 inches) and works everywhere. Place it on the panel surface; the bubble shows if you’re level (0°) or tilted. For a 40° tilt, you’ll need to estimate, but it’s a quick visual check.
The Sun’s Shadow
At solar noon (roughly 1 p.m. in most US time zones, adjusted for daylight saving), the sun is at its highest. If your panel’s shadow is shortest and points directly north (Northern Hemisphere), your panel is tilted correctly for that day.
Shadows and Charge Controller Interaction
Panel angle optimization works best when paired with a compatible charge controller. An MPPT (Maximum Power Point Tracking) controller automatically adjusts its input impedance to extract maximum power from your panel across varying angles and light conditions. A PWM (Pulse Width Modulation) controller is simpler but less efficient at converting variable solar output.
Practical example: A 100W panel at 0° (flat) on the ground may deliver 60W to an MPPT controller in mid-morning. The same panel tilted to 40° may deliver 85W. An MPPT controller will harvest both efficiently. A basic PWM controller will work but won’t extract the full benefit of the angle optimization.
For most camping setups with power stations (which include integrated charge controllers), this distinction is transparent—your power station handles the conversion. But if you’re building a custom battery bank, choose an MPPT controller to maximize the gains from proper panel angling.
FAQ
Q: Will a portable panel charge my power station faster if I angle it correctly?
A: Yes. A 50W panel angled to your latitude instead of lying flat will deliver roughly 35–50% more energy per day (25–35% from angle optimization, plus 15–25% from intraday tracking). On a 200Wh power station, that’s the difference between a 50% charge and a full charge in the same sunlight window. However, a panel is likely low-wattage; pairing it with proper angle technique is essential to get usable charging speed.
Q: What if I don’t know my exact latitude?
A: Search your campground name + “latitude” online, or use your phone’s GPS. Alternatively, use 40° as a reasonable default for mid-northern latitudes (central US, central Europe). You’ll lose maybe 5% efficiency, but it’s close enough for most camping trips.
Q: Can I use the same angle year-round?
A: Yes. Your latitude angle is a year-round compromise. You’ll lose 5–10% in summer and winter compared to seasonal adjustments, but the setup simplicity is worth it for most mobile campers.
Q: Does panel color or material affect the optimal angle?
A: No. Monocrystalline, polycrystalline, and thin-film panels all follow the same angle rules. Color (black, blue, etc.) is cosmetic and doesn’t change the physics.
Q: What if my campsite is on a slope?
A: Use the slope to your advantage. If the slope faces south (Northern Hemisphere) and tilts at roughly your latitude angle, you’re in luck—no additional propping needed. If it faces north or tilts the wrong way, reposition to an open flat area if possible.
Q: How much does panel angle affect real-world charging speed?
A: Optimizing from a flat (0°) position to your latitude angle increases charging speed by 25–35%. Adding intraday tracking (every 2–3 hours) adds another 15–25%. So a properly angled and tracked panel can deliver 50–60% more energy than a flat, fixed panel in the same sunlight.
Summary
Solar panel angle is the easiest, cheapest way to boost camping power generation. Start with your latitude as your base tilt, adjust seasonally if you’re stationary for a week or more, and reposition every 2–3 hours if you want maximum harvest. Keep the panel clean, avoid shadows, and face it south (Northern Hemisphere) or north (Southern Hemisphere). These simple steps can double your daily solar harvest compared to a flat, fixed setup.


