Best Solar Setup for RV Camping: Panels, Controllers & Batteries
Best Solar Setup for RV Camping: Panels, Controllers & Batteries
RV solar isn’t one-size-fits-all. A weekend camper with a small fridge and lights needs far less hardware than someone living off-grid for months. This guide walks you through the three core components—solar panels, charge controllers, and battery banks—so you can build a system that actually matches your camping style and budget.
Why Solar for RV Camping?
Boondocking without solar means running a generator constantly (loud, fuel-hungry, unreliable) or paying for campground hookups every night. A properly sized solar array lets you camp for free in remote locations, runs your essentials silently, and eliminates fuel costs. Many RV owners who add solar report recouping the initial investment within 2–3 years through eliminated hookup fees and fuel savings, according to long-running community threads on r/vandwellers and r/boondocking, though individual results vary based on camping frequency and energy consumption.
Solar also scales: you can start small and add panels and batteries as your camping needs grow.
Understanding Your Power Needs
Before buying a single panel, calculate how much power you actually use. This step saves thousands in wasted equipment.
Daily amp-hour (Ah) consumption: - Fridge: 30–60 Ah/day (depending on ambient temp and model) - Lights (LED, 4–6 hours): 5–10 Ah/day - Water pump (occasional use): 2–5 Ah/day - Laptop/phone charging: 5–10 Ah/day - Inverter (TV, microwave, tools): 20–100+ Ah/day (highly variable)
Realistic example: A couple camping weekends with a fridge, LED lights, and occasional device charging typically consume 50–80 Ah/day. Full-time boondockers with air conditioning or heavy tool use can hit 150–300 Ah/day.
Write down your actual loads. Most RV owners overestimate power needs by 30–50%, then buy oversized systems they don’t need.
Solar Panel Sizing & Type
Monocrystalline vs. polycrystalline:
Monocrystalline panels are more efficient (18–22% conversion), smaller per watt, and hold their efficiency better in partial shade. Polycrystalline panels cost less upfront but need more roof space (14–17% conversion). For RVs, monocrystalline is the practical choice—roof space is precious.
How many watts?
A rule of thumb: install 1.5–2 watts of solar per 1 amp-hour of daily consumption in moderate climates (Southern US, Southwest). In cloudier regions (Pacific Northwest, Northeast), aim for 2–3 watts per Ah.
Examples: - 50 Ah/day usage → 75–100W minimum - 100 Ah/day usage → 150–200W minimum - 200 Ah/day usage → 300–400W minimum
Real-world caveat: You won’t harvest full rated wattage on cloudy days or in winter. Plan for 40–60% of rated capacity in winter, 70–90% in summer. This estimate comes from field data collected by RV solar installers including Boondocks Solar and Zamp Solar, as well as manufacturer performance specifications from Renogy and Victron.
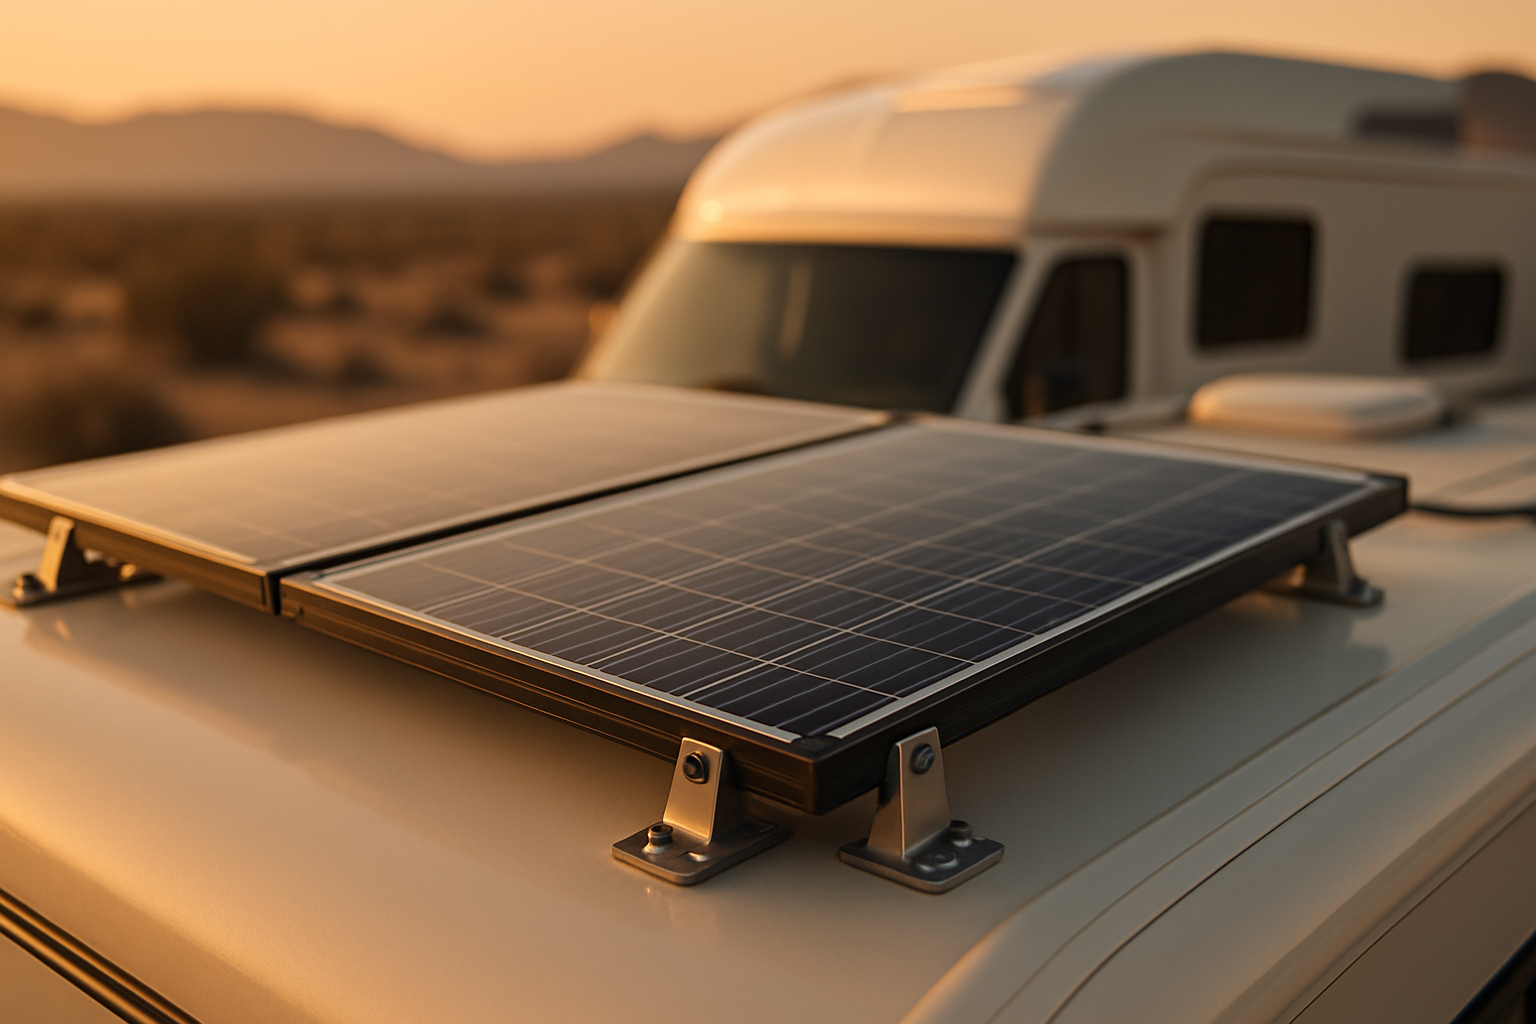
Panel mounting:
Fixed roof-mount panels are most common and reliable. Portable/foldable panels (100–200W) work for small setups and give flexibility, but require manual repositioning and cable management. Tilting mounts (seasonal angle adjustments) squeeze another 10–15% harvest in winter but add cost and complexity.
Charge Controllers: MPPT vs. PWM
The charge controller sits between your panels and battery bank. It regulates voltage and current to prevent overcharging and fires.
PWM (Pulse Width Modulation): - Cheaper - Less efficient (~70–80% of panel output reaches the battery) - Works fine for small systems (under 400W) - Suitable for beginners, weekend campers
MPPT (Maximum Power Point Tracking): - Mid-to-premium cost - More efficient (90–98% of panel output reaches the battery) - Handles higher voltages and larger arrays - Essential for 400W+ systems or 24V/48V battery banks - Recovers 20–30% more energy on cloudy days
Practical rule: If your total solar wattage is under 400W and your battery bank is 12V, a PWM controller works. Above that, MPPT pays for itself in recovered energy within 1–2 seasons.
Popular mid-tier choices:
- Victron Energy SmartSolar MPPT 100/50: 100V input, 50A output, integrates with Victron monitoring app. Best for systems up to ~600W at 12V. Slightly more expensive but includes Bluetooth diagnostics.
- Renogy DCC50S Dual Battery Charger: 50A output, 12V/24V auto-detect, simpler interface. Better for straightforward setups without monitoring requirements.
The Victron excels if you want real-time app monitoring and plan to expand later; the Renogy is more budget-friendly and equally reliable for fixed, smaller systems.
Battery Bank: Capacity & Chemistry
Your battery bank stores solar energy for use at night and on cloudy days. This is where most RV owners make costly mistakes—too small, and you’re back to generator mode; too large, and you’re paying for unused capacity.
Lithium (LiFePO₄) vs. Lead-Acid:
Lithium is the modern standard for serious RV solar: - Usable capacity: 80–100% depending on brand (Victron and Battle Born typically offer 95%+ usable; some budget LiFePO₄ models limit to 80%) - Lifespan: 8–15 years, 3,000–5,000 charge cycles - Weight: ~50% lighter than lead-acid - Cost: Premium-tier upfront, but lower cost-per-usable-Ah over time
Lead-acid (flooded, sealed, AGM): - Usable capacity: 40–60% (deep discharge damages them) - Lifespan: 3–8 years, 500–1,500 cycles - Weight: Heavy (100+ lbs for 200Ah) - Cost: Budget-tier upfront, higher replacement cost long-term
Sizing your battery bank:
Aim for 2–3 days of autonomy (the number of days you can run off stored energy with zero sun). This prevents constant shallow-discharge cycling and extends battery life.
Example (using 90% usable capacity typical of quality lithium): - Daily consumption: 100 Ah - 2 days autonomy: 100 Ah × 2 = 200 Ah needed - Nominal capacity (lithium at 90% usable): 200 Ah ÷ 0.9 = ~220 Ah nominal capacity
Note: Usable capacity varies by brand. Victron LiFePO₄ and Battle Born batteries offer 95%+ usable capacity; confirm your specific battery’s usable percentage before sizing.
In practice, most RV campers install 200–400 Ah lithium banks. Full-time boondockers often go 400–600 Ah.
Monitoring: A battery monitor (like the Victron SmartShunt 500A, MSRP ) tracks state-of-charge, voltage, and amp draw in real time. Essential for preventing over-discharge and diagnosing problems.
Wiring, Fuses & Safety
This isn’t glamorous, but it’s critical.
- Cable gauge: Use marine-grade tinned copper. For a 100A system at 12V, run 2/0 AWG from battery to controller, 4/0 from controller to panels. Undersized cable causes voltage drop and fire risk.
- Fuses & breakers: Install a 100A fuse between battery and controller, and a 20–30A breaker between controller and panels. Per electrical codes, every circuit needs protection.
- Grounding: Bond all metal frames (panel frames, controller case, battery box) to the RV chassis. Poor grounding causes corrosion and electrical faults.
- Disconnect switches: Install a main battery disconnect and a solar disconnect for safe maintenance.
Most RV solar kits come with pre-sized cables and fuses, but double-check against your system’s amperage. A qualified RV electrician can audit your setup for depending on system complexity and location.
Real-World Setup Costs (2026)
Budget-tier system (weekend camping, 100W solar, 12V 200Ah lithium): - Panels: - Controller (PWM): - Battery (200Ah LiFePO₄): - Wiring/fuses/breakers/installation: - **Total: **
Mid-tier system (frequent boondocking, 400W solar, 24V 400Ah lithium): - Panels: - Controller (MPPT): - Battery bank (400Ah LiFePO₄): - Monitoring, wiring, installation: - **Total: **
Full-time boondocking (600W solar, 48V 600Ah lithium, redundant controller): - Panels: - Dual MPPT controllers: - Battery bank (600Ah LiFePO₄): - Monitoring, wiring, professional install: - **Total: **
The good news: you can start small and expand. Add a second panel or battery bank next year if needed.
Installation: DIY vs. Professional
DIY is feasible if: - You’re comfortable with basic electrical work - Your RV has simple wiring (no complex existing systems) - You have a helper and basic tools (crimper, multimeter, wire stripper)
Hire a pro if: - Your RV has factory-integrated power systems (modern Class A/B) - You want warranty coverage on labor - You’re installing 400W+ with 24V/48V systems (complexity increases)
Most RV solar shops charge /hour for labor on a mid-sized system. Many RV owners find this worth the peace of mind.
Maintenance & Longevity
Solar panels need almost no maintenance—occasional rain cleans them, and dust in dry climates can be rinsed off yearly. Lithium batteries degrade slowly; expect 80–90% capacity after 5 years of daily use, per manufacturer testing.
Controllers and monitors are solid-state electronics—they fail rarely, but when they do, replacement is straightforward.
The real long-term cost is battery replacement. A quality 400Ah lithium bank lasts 8–12 years in typical RV use. Budget for replacement around year 10.
FAQ
Q: Can I use a portable solar generator instead of a hardwired system? A: For occasional camping (a few weekends/year), portable units work. Trade-offs: they for 400W capacity, weigh 30–50 lbs, and recharge slowly (8–12 hours in full sun). For frequent boondocking, a hardwired system is more cost-effective and reliable long-term—you avoid the weight penalty and recharge faster with a larger array.
Q: What if my RV roof is shaded by trees? A: Solar performs poorly in shade. If you camp regularly in shaded locations, consider portable panels you can position in sunlight, or rely more on battery capacity and generator backup. Shade-tolerant MPPT controllers (like Victron) recover slightly more energy, but they’re not a magic fix.
Q: Do I need a generator if I have solar? A: Not always, but many RV owners keep a small backup generator (3–5 kW) for cloudy weeks or high-load days (AC, power tools). Solar + battery handles 80–90% of typical camping needs.
Q: How long does installation take? A: DIY, 4–8 hours for a straightforward roof-mount system. Professional install, 1–2 days depending on complexity. Hardwiring into your RV’s existing electrical system is the most time-consuming part.
Q: Can I mix panel types or brands? A: Yes, as long as they’re wired in series or parallel correctly. Mismatched voltages cause problems, so keep panels of similar specs on the same string. A good installer or controller manual will guide you.
Putting It Together
Start by calculating your actual power needs—not what you think you’ll use, but what you really will. Then size panels (1.5–2 watts per Ah of daily consumption), choose a charge controller (PWM for small systems, MPPT for 400W+), and install a battery bank with 2–3 days of autonomy.
Wiring and safety matter as much as the hardware. Take time with fuses, cable gauge, and grounding—a cheap mistake here can cost thousands in damage.
If you’re new to RV solar, start smaller than you think you need. You can always add more panels and batteries next season. Most RV owners who go solar report it’s the single best upgrade they’ve made—freedom from hookup fees, silent camping, and the confidence to explore remote areas.