How to Set Up Solar Power for RV Camping in 2026
How to Set Up Solar Power for RV Camping in 2026
Setting up solar power for RV camping lets you power a 12V refrigerator and run a 2,000W inverter for 3 days without sun—freeing you from campground hookups and generator noise. A properly sized system—combining panels, batteries, and a charge controller—handles everything from refrigeration to laptops. This guide walks you through the core components, sizing logic, and installation steps to build a system that matches your actual power needs.
Understanding Your Power Needs
Before buying a single panel, calculate how much power you actually use. This is the single most important step—oversizing wastes money; undersizing leaves you stranded.
Audit your appliances. List everything you plan to run: laptop, phone chargers, LED lights, water pump, refrigerator, microwave, coffee maker. For each item, find the wattage (usually printed on the device or in the manual). Then estimate daily runtime in hours.
Example calculation: - LED lights: 50W × 4 hours = 200 Wh/day - Laptop charging: 65W × 3 hours = 195 Wh/day - Phone chargers: 10W × 2 hours = 20 Wh/day - Refrigerator: 150W × 12 hours = 1,800 Wh/day - Total: ~2,215 Wh/day
Write down your total daily watt-hour (Wh) consumption. Add 20% as a buffer for seasonal variation and aging batteries. In this example, you’d target a 2,700 Wh daily capacity.
Separate AC and DC loads. Some RV gear runs on 12V or 24V DC directly (lights, water pumps, fans); other gear needs AC power (microwaves, coffee makers, laptops). DC loads are more efficient because they skip the inverter step. If you can run more on DC, your battery bank shrinks and costs drop.
Choosing Solar Panels for RV Roofs
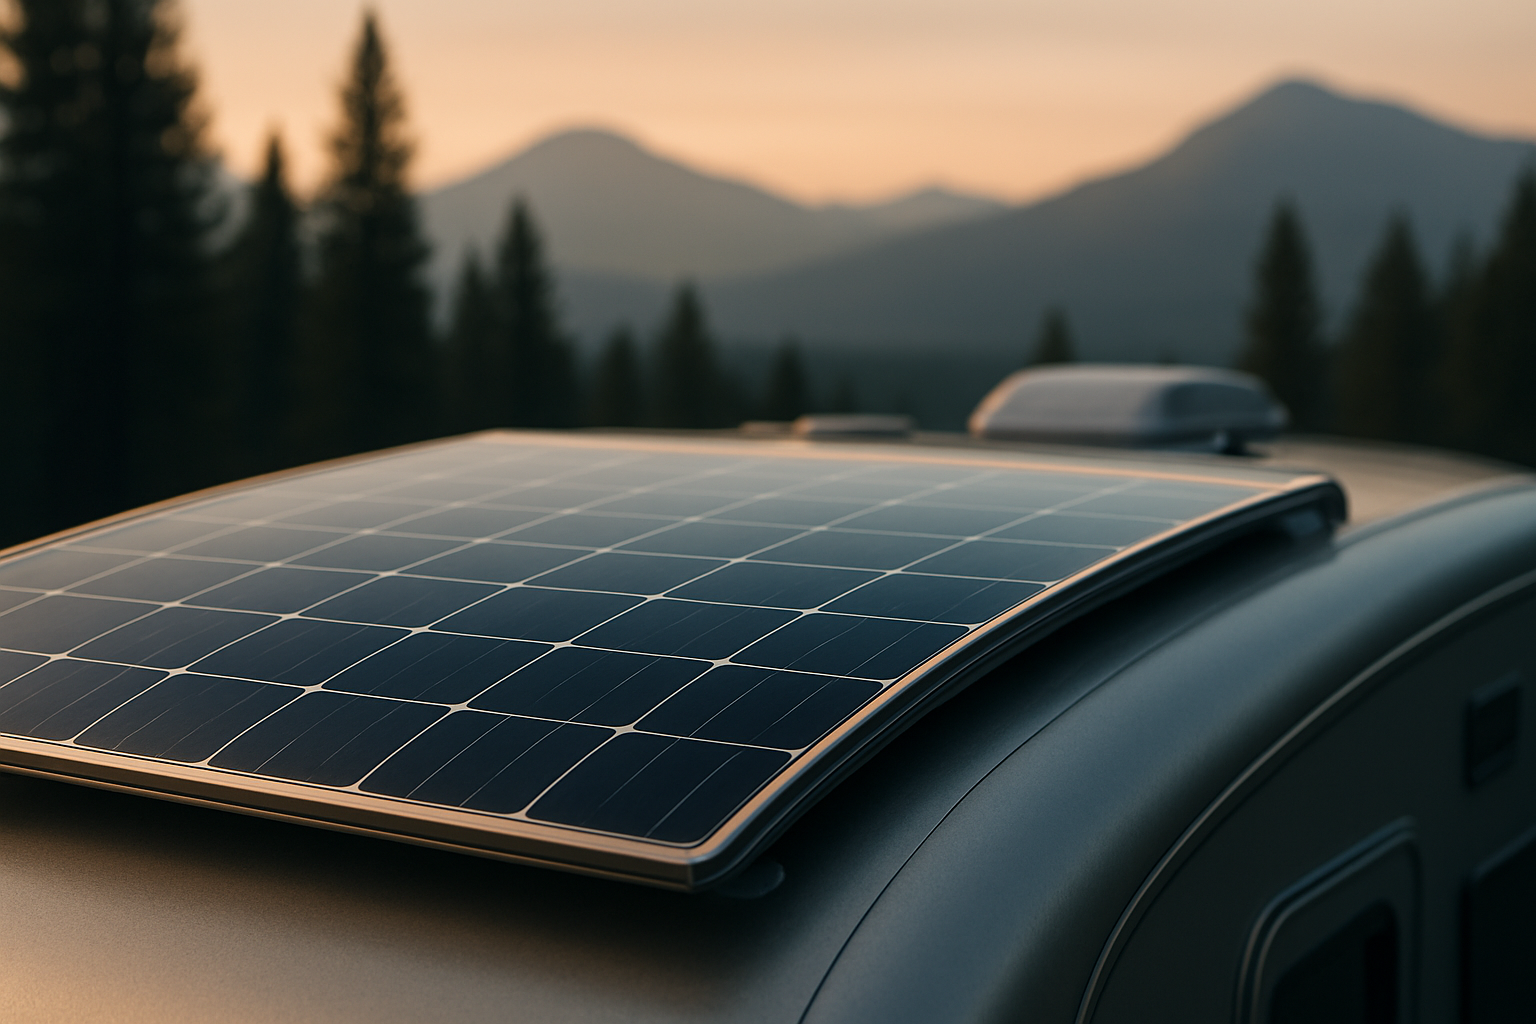
RV-mounted solar panels stay fixed to your roof, unlike portable panels you can angle toward the sun. Roof-mounted panels are convenient but receive less peak sun than optimally angled panels, especially in winter or at high latitudes.
Panel wattage. A typical RV roof fits 400–800W of panels (two to four 200–300W panels). The exact fit depends on your roof size and shape. Most RV owners install panels in the 300–400W range to balance roof space, weight, and daily charging output.
Monocrystalline vs. polycrystalline. Monocrystalline panels are ~15–22% efficient (more power per square foot); polycrystalline are ~13–16% efficient. Monocrystalline costs more but takes up less roof space—critical on an RV. For space-constrained rigs, monocrystalline is the practical choice.
Temperature coefficient. Panels lose efficiency in hot weather. A lower temperature coefficient (e.g., −0.3%/°C) means less power loss on a 100°F day. Check the spec sheet; this matters if you camp in deserts or southern climates year-round.
Weight. RV roofs have load limits, typically 100–150 lbs total. A single 400W panel weighs roughly 40–50 lbs; two 200W panels weigh ~20–25 lbs each. Distribute weight evenly across the roof to avoid stress points.
Battery Storage: Capacity and Chemistry
Your battery bank stores energy from the panels for use at night and on cloudy days. Size it to hold 2–3 days of your daily consumption in case of poor sun.
Lithium (LiFePO₄) vs. lead-acid. - Lithium: 95%+ depth-of-discharge (DoD), 10+ year lifespan, compact, lightweight, no maintenance. Higher upfront cost but lower total cost of ownership over a decade. Per aggregated RV owner reports on forums like r/vandwellers, lithium systems outlast lead-acid by 5–8 years with daily use. - Lead-acid (AGM/GEL): 50% safe DoD, 3–5 year lifespan, heavier, requires ventilation and occasional maintenance. Lower upfront cost but requires replacement sooner.
Capacity sizing. If your daily use is 2,700 Wh and you want 2 days of autonomy: - With lithium (95% DoD): 2,700 Wh × 2 days ÷ 0.95 = ~5,700 Wh usable → round to a 6 kWh bank - With lead-acid (50% DoD): 2,700 Wh × 2 days ÷ 0.50 = ~10,800 Wh usable → round to a 10–12 kWh bank
Lithium is smaller and lighter for the same capacity—a major win on an RV where space and weight are finite.
Battery management system (BMS). Lithium batteries require an integrated BMS to prevent overcharge, over-discharge, and cell imbalance. Reputable manufacturers ship lithium batteries with factory-installed BMS; this is non-negotiable. Lead-acid doesn’t require an active BMS but benefits from a quality charge controller.
The Charge Controller: MPPT vs. PWM
The charge controller regulates power from the panels into the battery, preventing overcharge and optimizing charging speed.
MPPT (Maximum Power Point Tracking): Converts excess panel voltage into charging current, recovering ~20–30% more energy than PWM on cloudy days and in winter. Per teardown reviews and manufacturer specs, MPPT is standard for modern RV systems. Cost is higher but the extra charging efficiency pays for itself over 2–3 years.
PWM (Pulse Width Modulation): Simpler, cheaper, but wastes panel voltage above the battery voltage. Adequate for small systems (under 400W panels) but inefficient for larger arrays.
Sizing the controller. Match the controller’s input current rating to your panel array. A 400W panel array at 48V nominal outputs ~8–10A; a 600W array outputs ~12–15A. Choose a controller rated for 20–30% above your peak current to avoid thermal stress. Per manufacturer guidance, oversizing the controller by one step (e.g., 60A instead of 50A) improves longevity without added cost.
Wiring, Fuses, and Safety
Improper wiring is a fire and shock hazard. Follow these essentials:
Wire gauge. Use the National Electrical Code (NEC) table or an online calculator (search “solar wire gauge calculator”) to size wire based on current and distance. For a 48V system with 15A current over 30 feet of panel-to-controller wire, you’d use 6 AWG (roughly 13mm²). Undersized wire overheats; oversized wire wastes money but is safe.
Fuses and breakers. Install a DC disconnect switch and fuse between the panels and controller, and another between the controller and battery. Fuse ratings: use a fuse rated 125% of the circuit’s maximum current. Per electrical code, this prevents arc faults and allows safe shutdown.
Grounding. Bond all metal frames (panels, rails, battery box) to the RV chassis ground. Use green or bare copper wire. Proper grounding prevents shock hazard and lightning damage.
Conduit and routing. Run wires through conduit or cable trays, away from moving parts, hot surfaces, and water. Secure cables every 18 inches. Label all connections with tape or heat-shrink labels.
Inverter placement. If you need AC power (120V), add an inverter near the battery bank, not on the roof. Inverters generate heat; place them in a ventilated cabinet or under the RV to keep the living space cool. Per owner reports, inverters mounted in unventilated cabinets overheat and shut down on hot days.
Installation: Roof Mounting and Routing
Roof mounting. Use a quality aluminum rail system and stainless steel hardware to resist corrosion. Per manufacturer installation guides, drill through the RV roof only at marked points on the rails; use rubber boots and sealant to prevent leaks. Tighten bolts in a cross pattern (like wheel lugs) to avoid warping the roof.
Cable routing. Run DC cables from the roof panels down the side of the RV (through a conduit or cable chase) to the battery compartment. Avoid running cables through living spaces where they can be damaged or create a fire hazard. If you must pass through walls, use a sealed penetration fitting.
Testing before full install. Before sealing roof penetrations, connect one panel to the controller with a temporary wire and verify voltage and current readings on a sunny day. If readings match the panel spec sheet (within 5%), proceed with installation. If readings are low, check for wiring faults or shading.
Monitoring and Maintenance
A quality battery monitor displays state-of-charge (%), voltage, and current in real time. Per owner feedback, this data helps you avoid over-discharging the battery and plan high-power tasks (like running a microwave) when the battery is full.
Seasonal adjustments. In winter, panels receive less sunlight. Reduce consumption (shorter hot showers, no AC loads) or add a backup generator. In summer, monitor battery temperature; lithium batteries should stay below 120°F. Add a fan or shade cloth if needed.
Panel cleaning. Dust and bird droppings reduce output. Clean panels every 1–2 weeks in dusty climates; quarterly in clean areas. Use distilled water and a soft brush—avoid abrasive sponges that scratch the glass.
Battery health. Lithium: monitor the BMS display for cell imbalance alerts. Lead-acid: check water levels (flooded cells only) and terminal corrosion monthly. Per manufacturer guidance, both chemistries last longer if kept in a moderate temperature range (40–100°F).
Common Setup Mistakes to Avoid
- Undersizing the battery bank. Owners often buy just enough capacity for one day, then run out of power on cloudy days. Aim for 2–3 days of autonomy.
- Ignoring wire gauge. Per NEC calculations, undersized wires waste power as heat and can start fires. Use a wire calculator, not guesswork.
- Mounting panels flat on the roof. Flat-mounted panels lose 20–30% of winter output compared to a 30° tilt. If weight allows, use adjustable mounts or tilt brackets.
- No disconnect switches. A stuck inverter or shorted panel can drain your battery in hours. Install DC disconnects so you can isolate the system safely.
- Mixing old and new batteries. Adding a new battery to a worn 5-year-old bank will drag the new battery down. Replace the entire bank at once.
FAQ
Q: Can I add more panels later? A: Yes, if your charge controller has spare input capacity. Check the manual’s maximum input current rating. Adding panels beyond that limit requires a second controller (more wiring complexity) or a controller replacement.
Q: What’s the typical lifespan of a solar panel? A: Per manufacturer warranties and long-running owner reports, modern panels retain 80–90% output after 25 years. Actual failure is rare; degradation is gradual. Most RV owners replace panels due to damage (hail, accidents) rather than age.
Q: Do I need a generator backup? A: Not always. If you camp in sunny regions (Southwest US, California) and have a 2–3 day battery reserve, you’ll rarely need backup. If you camp in cloudy regions (Pacific Northwest, Northeast) or winter, a small generator is a practical insurance policy.
Q: Can I use portable solar panels instead of roof-mounted? A: Yes. Portable panels are easier to angle toward the sun (gaining 20–30% more winter output) and don’t require roof penetrations. Trade-off: you must deploy and stow them daily.
Q: What’s the difference between a solar generator and a solar system? A: A solar generator (portable power station + built-in panel) is an all-in-one, plug-and-play solution. A DIY system (separate panels, battery, controller, inverter) is modular and scalable. Solar generators suit occasional camping; DIY systems suit full-time RV living.
Summary
A well-designed RV solar system frees you from campground hookups and generator noise. Start by calculating your daily power consumption, then size your panels (300–600W for most RVs) and battery bank (2–3 days of autonomy) accordingly. Choose an MPPT charge controller, run properly gauged wiring with fuses, and mount panels securely to your roof. Lithium batteries cost more upfront but outlast lead-acid by years and take up half the space. Monitor your system regularly, clean panels seasonally, and avoid undersizing—the most common mistake.