RV Solar Power System Setup: DIY vs Portable Solutions
RV Solar Power System Setup: DIY vs Portable Solutions
Adding solar to an RV means freedom—no generator fuel, no campground hookup fees, no engine idle time. But the path splits fast: hardwire a permanent system to your roof, or go modular with portable panels that fold up when you move. Each has real tradeoffs in cost, installation complexity, and what loads you can actually run. This guide walks you through both, so you pick the setup that matches your rig and how you travel.
Why RV Solar Makes Sense (and When It Doesn’t)
Solar works well on an RV because you have roof real estate, you’re often parked in daylight hours, and you can size the system to your actual power needs—not the whole house. A typical RV pulling 2–4 kW peak draw (microwave, AC, water heater) doesn’t need a 10 kW array; 400–800 watts of panels plus a modest battery bank covers most day-to-day use.
The catch: solar doesn’t work on cloudy days or at night without battery backup. If you boondock (camp off-grid) for weeks, you need storage. If you move every few days and rarely stay parked during peak sun, portable panels are overkill. Honest assessment of your travel pattern saves you thousands.
Permanent Hardwired Systems: The Full Setup
A hardwired RV solar system lives on your roof and feeds directly into your 12V house battery via a charge controller. It’s the gold standard for full-timers and serious boondockers.
Components You’ll Need
- Solar panels (200–800W depending on your needs)
- Charge controller (MPPT or PWM, sized to your panel wattage)
- Battery bank (LiFePO4 or AGM, 100–400 Ah)
- Breakers, fuses, and wiring (proper gauge to avoid fire risk)
- Inverter (if you want 120V AC power from 12V DC)
Installation Overview
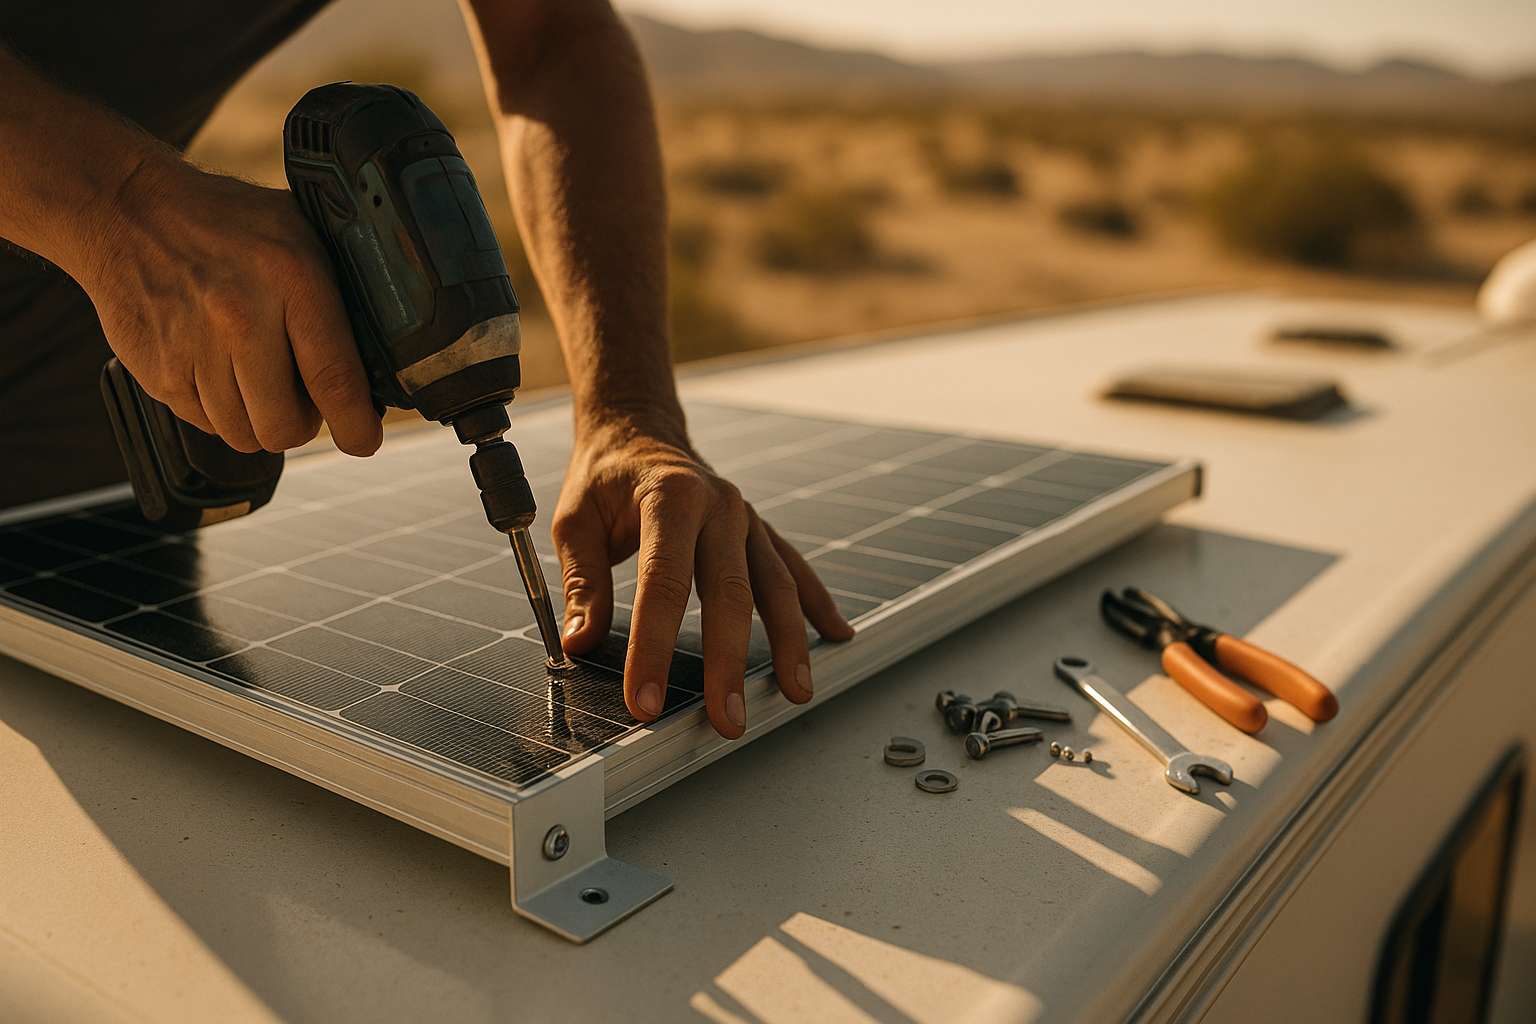
- Mount panels to your roof using L-brackets or a rail system. Most RV roofs can handle 30–50 lbs per panel; check your manual.
- Run conduit from roof to your battery compartment (usually under a dinette or bed). Use UV-rated wire and proper conduit to prevent chafing.
- Install the charge controller near your battery. MPPT controllers (Maximum Power Point Tracking) harvest 20–30% more energy than PWM but cost more; PWM is simpler and sufficient for smaller systems.
- Wire the battery bank in series or parallel depending on voltage (12V, 24V, or 48V). LiFePO4 batteries are lighter and last longer than lead-acid AGM, but cost 2–3× more upfront.
- Add breakers and fuses on both positive and negative lines to protect against short circuits.
- Optional: install an inverter to convert 12V DC to 120V AC for laptops, microwaves, or other household appliances.
Real-World Complexity
Common failure points reported by RV solar installers: - Roof penetrations leak. Use marine sealant and check seals annually. - Undersized wiring causes voltage drop. Wire gauge matters; 10 AWG is minimum for 20+ feet of run. Voltage drop reduces output by 15–25% if undersized. - Battery chemistry mismatch kills lifespan. Mixing LiFePO4 and AGM in the same bank reduces battery lifespan by 40–60% per manufacturer specs due to conflicting charge profiles.
A professional install runs (labor + materials for a 400–600W system). DIY saves labor but demands electrical competence; mistakes risk fire or battery damage.
Portable Solar Solutions: Speed and Flexibility
Portable panels are foldable, plug-and-play systems that sit on the ground or prop against your RV. They pair with a portable power station (battery + inverter in one box).
How Portable Systems Work
A portable panel has built-in connectors (USB-C, Anderson, or MC4) that plug directly into a power station. No roof work, no wiring, no permanent commitment. You can move panels throughout the day to follow the sun, or pack them away when you relocate.
Typical Portable Setup
- Portable solar panels (100–400W)
- Portable power station (500–3000 Wh capacity)
- Optional: extra panels to charge faster or run larger loads
Portable stations come with built-in inverters, so you get 120V AC outlets without separate gear. Most users report 3–5 hours of useful charging per panel in full sun, depending on season and latitude.
Advantages
- No installation skill required.
- Move between vehicles (car, truck, trailer, boat).
- Easier to upgrade or sell.
- Scales incrementally (add more panels or batteries as needed).
Limitations
- Slower charging than hardwired systems (panels sit on ground, may shade each other).
- Portables take up interior or exterior storage space.
- Smaller capacity stations (500–1000 Wh) deplete fast if running AC or microwave; a 200W portable panel charges a 1000 Wh station in roughly 5–7 hours in full sun.
- Weather and dust reduce output; portable panels need regular cleaning.
DIY Hardwired vs. Portable: Side-by-Side
| Factor | Hardwired DIY | Portable |
|---|---|---|
| Upfront cost | (400W system, no labor) | (200W panel + 1000 Wh station) |
| Installation | Electrical work required | Plug-and-play |
| Roof damage risk | Moderate (penetrations) | None |
| Charging speed | Fast (panels fixed, optimized angle) | Slower; 200W portable charges 3× slower than 400W hardwired |
| Scalability | Easy to add panels/batteries | Add more stations or panels incrementally |
| Portability | Stuck with RV | Move between vehicles |
| Maintenance | Annual seal checks, controller monitoring | Panel cleaning, station software updates |
| Best for | Full-timers, long boondocks | Part-timers, renters, multi-vehicle use |
Sizing Your System: A Quick Framework
Daily power draw: Use a Kill-A-Watt meter to measure actual appliance wattage, then multiply by hours of use. - Laptop 50W × 8 hours = 400 Wh - Fridge 150W × 24 hours = 3600 Wh - Lights 100W × 6 hours = 600 Wh - Total: ~4600 Wh/day
Panel size: Assume 4–5 peak sun hours per day in summer (varies by season/location). To generate 4600 Wh, you need roughly 1000W of panels (4600 ÷ 4.5 = ~1000W). Reduce panel size by 30% if boondocking in winter to account for shorter daylight and lower sun angles; winter sun hours are 50%+ lower than summer in most regions.
Battery capacity: For 2–3 days of autonomy (no sun), size your battery to hold 2–3× your daily draw. For the example above, a 10–15 kWh battery (or 800–1200 Ah at 12V) covers 2–3 days comfortably.
Most RV owners find 400–600W of panels + 200–400 Ah of battery covers 80% of use cases without oversizing.
Cost Reality Check
Hardwired systems: A 400W hardwired system installed (panels, MPPT controller, wiring, breakers, labor if professional). A 600W system runs. DIY labor savings are if you handle installation yourself.
Portable systems: A 200W portable panel + 1000 Wh power station total. Charging is slower—roughly 3× slower than a hardwired 400W system—but requires no installation.
5-year ROI: Hardwired breaks even in 4–5 years if you boondock >2 weeks/year (fuel and campground fees saved). Portable never reaches ROI if you’re paying for campground power; it’s cost-effective only if you avoid hookup fees through boondocking.
Common Mistakes to Avoid
- Undersizing the battery. A 100W panel can’t charge a dead 400 Ah battery in one day. Match panel and battery size; use the sizing framework above.
- Ignoring voltage drop. Long wire runs (20+ feet) at 12V lose significant power—15–25% reduction if undersized. Use thicker wire (8 AWG or lower) or step up to 24V/48V systems.
- Mixing battery types. Mixing AGM and LiFePO4 reduces battery lifespan by 40–60% per manufacturer specs due to conflicting charge profiles; never wire them in parallel.
- Forgetting the charge controller. Panels without a controller overcharge batteries and destroy them in weeks.
- No breakers or fuses. A short circuit in the wiring can melt cables and start fires. Always fuse the positive line near the battery.
Which Path Is Right for You?
Go hardwired if: - You full-time in your RV. - You boondock for weeks at a time. - You have roof space and don’t mind drilling. - You want to run AC, microwave, or other heavy loads regularly. - You plan to keep the RV for 5+ years.
Go portable if: - You travel part-time or seasonally. - You rent or don’t own the RV. - You move campsites every few days. - You want to use panels on multiple vehicles. - You prefer to avoid roof work and electrical installation. - You’re testing solar before committing to a full system.
FAQ
Q: How do I know if my RV roof can handle solar panels? A: Check your RV manual for roof weight limits (typically 30–50 lbs per panel). Measure your roof thickness and material (aluminum, fiberglass, or rubber). Distribute weight across multiple smaller panels if needed. Have a professional inspect if you’re unsure.
Q: What’s the warranty on portable power stations? A: Most portable stations carry 2–5 year warranties covering defects. Battery degradation (capacity loss) is typical; expect 80–90% capacity after 3–5 years of regular use. Check the warranty terms for your specific model before purchase.
Q: Can I start with portable panels and upgrade to hardwired later? A: Yes. Many owners begin with a portable station, learn their power needs, then hardwire a permanent system. The portable gear doesn’t go to waste—use it for camping trips or backup.
Q: What’s the difference between MPPT and PWM charge controllers? A: MPPT (Maximum Power Point Tracking) optimizes voltage to extract up to 30% more power; PWM (Pulse Width Modulation) is simpler and cheaper but less efficient. For systems under 400W, PWM is fine. Above that, MPPT pays for itself in extra energy.
Q: Can portable panels charge a large battery bank fast enough? A: Slowly. A single 200W portable panel charges a 400 Ah battery at roughly 10–15 amps in full sun—that’s 40+ hours to fully charge. Hardwired systems with optimized angles charge 2–3× faster. If you move every few days, portable panels struggle to keep up with large banks.
Decision Checklist
Choose hardwired if: - You boondock >2 weeks/year AND have roof space → ROI breaks even in 4–5 years - You run heavy loads (AC, microwave) regularly - You own the RV and plan to keep it 5+ years
Choose portable if: - You move every 3–5 days → Saves + in installation labor and roof penetration risk - You rent or own multiple vehicles - You’re testing solar before committing to hardwired
For deeper dives on specific gear, check out Best Portable Solar Panels for Camping: Reviews & Buyer's Guide and How to Build a Complete Emergency Kit for Your RV.


