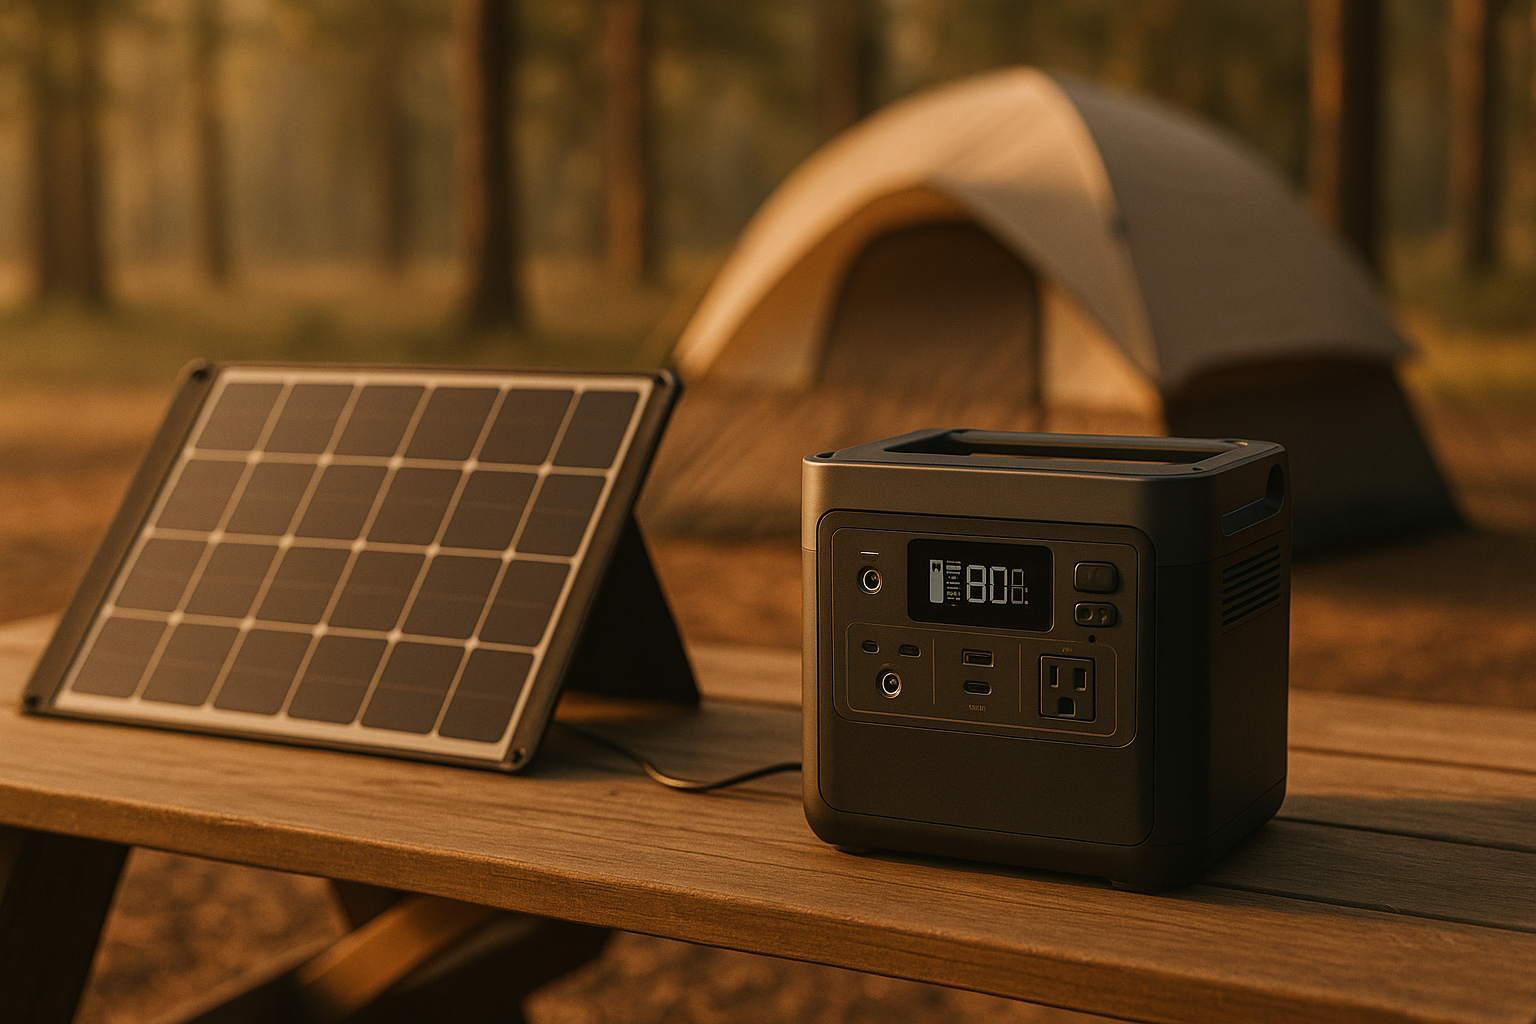
Best Solar Panels for RV Roof: Wattage, Durability & Installation

Photo by Kay Dittner on Unsplash
Best Solar Panels for RV Roof: Wattage, Durability & Installation
Choosing the right solar panel for your RV roof means balancing wattage output, durability in extreme weather, weight, and whether you want permanent or temporary installation. Most full-time RV owners need between 400–800 watts of installed capacity to maintain batteries during cloudy days and high-draw appliances. This guide walks you through panel types, real-world durability specs, and installation best practices so you can match your travel style to the right system.
Why Solar Panels Matter for RV Living
RV solar systems eliminate dependence on campground hookups, diesel generators, and frequent battery drains. Unlike a portable solar panel you can stow when not in use, roof-mounted panels work passively—they charge your battery bank during daylight hours whether you’re parked, driving, or sleeping.
The trade-off is permanence: roof installation requires drilling, sealant, and electrical integration into your existing power system. Most RV owners who commit to solar report that the investment pays for itself within 3–5 years of full-time travel through avoided generator fuel and extended boondocking windows.
Panel Types: Rigid vs. Flexible
Rigid Monocrystalline Panels
Rigid panels are the industry standard for RV roofs. They use a single-crystal silicon cell structure that converts 18–22% of sunlight into electricity—the highest efficiency tier for residential solar.
Durability specs: Per manufacturer datasheets, rigid panels are rated to withstand 110+ mph wind loads and hail up to 1.25 inches in diameter. The aluminum frame and tempered glass face protect internal cells from UV degradation and moisture intrusion. Most carry 25-year output warranties (guaranteeing 80% of rated capacity after 25 years) and 10-year material warranties.
Weight and mounting: A typical 400W rigid panel weighs 40–50 lbs and requires permanent roof penetrations (usually 4–6 bolt holes per panel). You’ll need aluminum rails, stainless-steel fasteners, and roof sealant (Sikaflex or similar marine-grade caulk). Total installation labor on an RV typically runs 4–8 hours for a dual-panel system.
Best for: Full-time travelers, owners with high power loads (air conditioning, refrigeration, water heating), and those planning to stay in one rig for 5+ years.
Flexible Monocrystalline Panels
Flexible panels use the same high-efficiency cells but mount them on a thin fiberglass backing instead of a rigid frame. They conform slightly to curved RV roofs and weigh 30–40% less than rigid equivalents.
Durability specs: Flexible panels are rated for 90–100 mph winds and hail resistance comparable to rigid panels. However, they lack the structural rigidity of aluminum frames, so they’re more prone to delamination if exposed to extreme flexing or thermal cycling over 10+ years. Per long-running threads on r/RVLiving, owners report that high-quality flexible panels (Victron, Renogy) hold up well, but cheaper brands sometimes show edge-separation after 5–7 years in harsh climates.
Weight and mounting: A 200W flexible panel weighs 12–15 lbs and requires adhesive (3M VHB tape) or minimal fasteners. No drilling required, which is a major advantage for renters or those hesitant to modify their roof. However, adhesive bonds weaken in extreme heat (above 140°F), so they’re less ideal for desert RVs.
Best for: Weekend warriors, renters, owners with smaller RVs (Class B vans, trailers), and those who want to avoid permanent roof modifications.
Wattage: How Much Do You Actually Need?
Wattage requirements depend on your appliances, travel style, and climate.
Baseline calculation: - Light boondocking (no AC, minimal heating): 200–400 watts per RV solar installer surveys - Moderate use (fridge, lights, laptop charging, occasional heating): 400–600 watts - Full-time with AC or high-draw appliances: 800–1,200 watts
The catch: rated wattage is peak output under ideal lab conditions (1,000 W/m² irradiance, 25°C ambient). In real RV travel, you’ll see 60–80% of rated output on average sunny days and 20–40% on cloudy days.
Rule of thumb: Size your system for 50% of your ideal wattage. If you need 600 watts average, install 1,000–1,200 watts of panels. This accounts for angle loss (RV roofs are flat; solar panels work best at 30–45° tilt), seasonal variation, and degradation over time.
Key Specs to Compare
When evaluating panels for your RV roof, check these specifications:
| Spec | Why It Matters | Target Range |
|---|---|---|
| Efficiency Rating | Higher efficiency = smaller panel footprint (important on limited RV roofs) | 18–22% for monocrystalline |
| Temperature Coefficient | How much output drops in hot weather; lower is better | –0.35% to –0.45% per °C (per IEC 61215 standard) |
| Wind/Hail Rating | Durability in storms and rough terrain | 90+ mph wind; 1.25” hail minimum |
| Output Warranty | Guarantees capacity after 25 years | 80% minimum after 25 years |
| Frame Material | Corrosion resistance in humid/salty climates | Anodized aluminum preferred |
| Weight per Watt | Critical for RV roof load limits | <0.2 lbs/watt for rigid; <0.1 for flexible |
Installation: Permanent vs. Portable Hybrid
Permanent Roof Installation
Pros: - Panels charge automatically while parked or driving. - No manual setup required; frees up ground space. - Cleaner aesthetic; no visible cables or stands.
Cons: - Requires drilling (4–6 holes per panel) and roof sealant. - Difficult to service or replace without re-sealing. - Reduces resale appeal for buyers hesitant about roof penetrations. - Venting and shade from AC units, antennas, or roof racks can reduce output.
Installation steps: 1. Plan panel placement to avoid vents, AC units, and high-traffic areas. 2. Use a template to mark bolt holes; drill pilot holes to avoid hitting plumbing or wiring. 3. Apply roof sealant (Sikaflex 221 or equivalent) around bolt holes before fastening. 4. Mount rails and panels; double-check that fasteners are tight but not over-torqued (over-torquing can crack glass). 5. Run DC wiring through conduit under the roof to your battery compartment. 6. Install an MPPT charge controller (recommended over PWM for RVs) and connect to your battery bank.
See How to Set Up Solar Power for RV Camping for detailed wiring guides covering 24V and 48V systems, controller selection, and grounding best practices.
Portable Hybrid Approach
Many RV owners install 200–400W of rigid roof panels and supplement with portable units on cloudy weeks or during high-demand travel. This approach: - Keeps permanent roof modifications minimal. - Allows you to angle portable panels toward the sun (40–50% higher output vs. flat roof panels). - Gives flexibility to upgrade or replace panels without roof work.
The trade-off is manual setup time (15–30 minutes per day) and storage space for the portable unit.
Durability in Harsh Climates
Desert heat (120°F+): Panel efficiency drops ~0.35–0.45% per degree Celsius above 25°C. In 120°F heat, expect 15–20% output loss vs. cool weather. Ensure adequate airflow under panels (use spacers or rails with clearance) to allow cooling air circulation.
Coastal/humid environments: Salt spray corrodes aluminum frames and fasteners. Opt for stainless-steel hardware and anodized aluminum frames. Per manufacturer specs, panels rated for coastal use (IEC 61701 salt-mist testing) are worth the premium if you frequent ocean areas.
Snow and ice: Snow reduces output to near-zero. If you stay in snowy regions year-round, a low-angle roof (15–20°) sheds snow better than flat mounting; however, RVs rarely accommodate this tilt. Most winter RV owners use generator backup during extended cloudy or snowy periods.
Hail: High-quality rigid panels withstand 1.25” hail at 50+ mph per impact testing. If you’re in hail-prone regions (Great Plains, mountain passes), confirm your panel’s hail rating before purchase.
Charge Controller: MPPT vs. PWM
Your charge controller is the “brain” that regulates power from panels to battery.
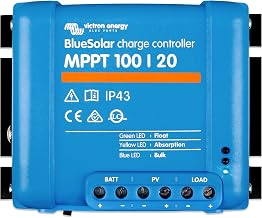
MPPT (Maximum Power Point Tracking): Converts excess voltage into amperage, recovering 20–30% more energy than PWM per Victron technical specifications. Recommended for RV systems with more than 200W of panels or 24V+ battery banks.
Example controllers: - Victron SmartSolar 100/50:; 100V input, 50A output; programmable via Bluetooth. - Renogy Rover 60A:; 100V input, 60A output; simpler interface, proven in RV installations.
PWM (Pulse Width Modulation): Simpler, cheaper, and adequate for small systems (100–200W). Wastes excess voltage as heat.
For most RV solar installs with 400W+ of panels, an MPPT controller in the range delivers measurable efficiency gains over a multi-year boondocking cycle.
Top Picks by Scenario
Best for full-time RV living with high power draw: Renogy 400W Rigid Solar Panel Kit — includes two 200W panels, mounting hardware, MPPT controller, and wiring. Per owner reviews, the kit simplifies installation and the panels maintain output in varied sun angles.
Best for weekend warriors with space constraints:
Best for budget-conscious first-time installers: Renogy 100W Monocrystalline Solar Panel — proven durability, simple wiring, and no need for expensive mounting hardware. Start with one and add a second panel later as budget allows.
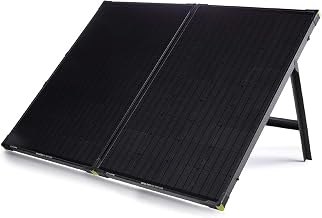
Best for maximizing roof real estate on smaller RVs:
FAQ
Q: Will installing solar panels void my RV warranty? A: Roof penetrations may void roof-specific warranties, but solar installation doesn’t typically void your overall RV warranty if done correctly. Check your warranty documentation and contact your RV manufacturer before drilling. Professional installers often carry liability insurance that covers warranty issues.
Q: How do I winterize solar panels? A: Rigid panels require no winterization—they operate in freezing temps (efficiency actually improves in cold). However, check mounting hardware for ice buildup and ensure snow doesn’t block airflow under the panels. For flexible panels, inspect adhesive bonds in spring; extreme freeze-thaw cycles can weaken 3M VHB tape over time. If storing your RV in winter, cover panels with opaque tarps to prevent battery drain from phantom loads.
Q: Can I install solar panels on a curved RV roof? A: Yes, but with caveats. Rigid panels require custom rails that accommodate the curve; this adds cost and complexity. Flexible panels conform better to curves, but adhesive mounting is less reliable on highly curved surfaces. Most RV roofs have a gentle arc (not a dome), so standard rigid rail kits work fine.
Q: How much weight do solar panels add to my RV’s roof? A: A 400W rigid system (two 200W panels with rails and hardware) weighs 120–150 lbs. Check your RV’s GVWR (Gross Vehicle Weight Rating) and dry weight to ensure you have headroom. Most RVs can handle 200–300 lbs of roof load without issue, but confirm with your manufacturer or a weight scale.
Q: Do I need a battery bank to use roof solar panels? A: Yes. Panels generate DC power; without a battery to store it, the power dissipates or overcharges your existing house battery. A typical RV solar system includes a lithium or lead-acid battery bank (100–400 Ah capacity) and a charge controller.
Q: How long do solar panels last? A: Per manufacturer warranties, 25+ years is standard. Real-world degradation is ~0.5% per year, so a panel at 100% efficiency today will be at ~87% after 25 years. Most owners replace panels due to physical damage or system upgrades, not efficiency loss.
Q: Can I DIY the installation or should I hire a professional? A: DIY is feasible if you’re comfortable with basic electrical work and roof penetrations. Mistakes in wiring or sealant can lead to battery damage or roof leaks. Budget 4–8 hours for a dual-panel installation. If unsure, hire an RV solar specialist (typically for labor); they’ll ensure proper grounding, code compliance, and warranty coverage.
Wrapping Up
Roof-mounted solar panels are the most efficient way to power an off-grid RV lifestyle. Choose rigid monocrystalline panels (400–600W) for full-time travel, flexible panels (200–400W) for part-time use, and pair them with an MPPT charge controller and appropriately sized battery bank. Installation takes a weekend and eliminates generator dependence for most boondocking scenarios.
Start with the wattage calculation for your actual power draw, verify your roof can handle the weight, and don’t skimp on sealant or fasteners—a leaky roof is far more expensive to fix than quality installation materials. For more on integrating solar into your RV power system, see How Much Solar Power Do You Need for Camping? Wattage Calculator and Best Solar Generators for Off-Grid Camping in 2026.