Best Solar Panels for Van Conversion: Flexible & Rigid Options

Photo by Ricardo Gomez Angel on Unsplash
Best Solar Panels for Van Conversion: Flexible & Rigid Options
Van conversions demand solar panels that balance power output, weight, durability, and installation simplicity—constraints that RVs and fixed rooftops don’t face. This guide breaks down rigid vs. flexible options, real-world wattage needs, and how to choose the right panel type for your rig.
Rigid vs. Flexible Solar Panels: Core Differences
Rigid panels (typically aluminum-framed monocrystalline or polycrystalline) offer higher efficiency (18–22% for monocrystalline), longer lifespan (25–30 years), and lower cost per watt. They’re heavier and require roof penetration for mounting, but they’re the standard for permanent van builds.
Flexible panels (thin-film or monocrystalline bonded to a backing) weigh 60–70% less than rigid equivalents, mount with adhesive (no drilling), and flex slightly to follow curved van roofs. Efficiency runs 15–18%, and they degrade slightly faster in UV exposure—but many owners report 10–15 years of reliable service. They cost more per watt upfront but save installation labor and avoid roof holes.
Trade-off summary: - Choose rigid if you’re building a permanent van and have flat or gently curved roof space. - Choose flexible if your van roof is heavily curved, you want zero roof penetration, or you plan to remove the system later.
Many converters use a hybrid approach: rigid panels on flat rear sections, flexible on curved roof caps.
Sizing Your Van Solar Array: Wattage Fundamentals
Van power needs vary wildly. A weekend warrior with a fridge and LED lights might draw 30–50 amp-hours daily; full-time nomads running laptops, water heaters, and air conditioning can hit 100–200 amp-hours.
Rule of thumb: Size your array to replace 50–100% of daily consumption on an average sunny day (accounting for clouds, angle loss, and inverter inefficiency). Most van converters land on 200–400W of installed panel capacity.
- Minimal setup (weekend trips, small fridge): 100–150W
- Moderate setup (full-time, mixed loads): 200–300W
- High-demand setup (air conditioning, water heater, work equipment): 400W+
Per long-running threads on r/vandwellers and r/solarpower, owners running 300W arrays with 200Ah lithium storage report 4–7 days of autonomy in cloudy weather. Doubling to 600W extends that to 10–14 days—but requires more roof space and a heavier battery bank.
Don’t oversize without storage. Extra panels only help if your battery can absorb the charge; undersized batteries waste panel output on sunny days.
Monocrystalline vs. Polycrystalline: Efficiency & Longevity
Monocrystalline panels use single-crystal silicon, delivering 18–22% efficiency. They perform better in low-light and high-temperature conditions—critical for vans parked in shade or hot climates. They’re more expensive per watt but take up less roof space. Per manufacturer spec sheets and aggregated owner reviews, monocrystalline panels hold their rated output longer as they age.
Polycrystalline panels use multiple silicon crystals, hitting 15–17% efficiency. They’re cheaper upfront and more forgiving of installation mistakes. They degrade slightly faster in intense heat but remain reliable for 20+ years. Many budget van builds use polycrystalline and accept the larger footprint in exchange for lower cost.
For vans: Monocrystalline wins if roof space is tight or you need high output in variable light. Polycrystalline wins if budget is the primary constraint and you have 400+ square feet of roof to work with.
Key Specs to Compare
When evaluating panels, check these numbers:
- Wattage (W): Nameplate rating under standard test conditions (1000W/m² irradiance, 25°C cell temperature). Real-world output is 60–80% of this in typical van conditions.
- Efficiency (%): Higher efficiency = smaller physical footprint. Monocrystalline ≥18%; polycrystalline ≥15%.
- Temperature coefficient: How much output drops per °C above 25°C. Look for ≤−0.4% per °C; van roofs hit 60–70°C on sunny days, so this matters.
- Weight: Flexible panels weigh 1–1.5 lbs per 100W; rigid panels weigh 2.5–4 lbs per 100W.
- Bypass diodes: Prevent “hot spots” if part of the panel is shaded. Standard on all modern panels.
- Frame material: Aluminum frames resist corrosion; some budget panels use steel (rust risk in humid climates).
Installation: Roof Penetration, Adhesive, and Wiring
Rigid panel mounting requires: 1. Aluminum L-brackets or rails bolted through the roof (typically 4 mounting points per panel). 2. Roof sealant (butyl or silicone) around each bolt hole to prevent leaks. 3. Grounding straps from the frame to your vehicle chassis (code requirement in many regions). 4. MC4 connectors wired to a charge controller inside the van.
Installation takes 4–8 hours for a single 100W panel; adding a second doubles the labor. Most DIY converters handle this, but professional installers charge for labor.
Flexible panel mounting uses: 1. 3M VHB adhesive tape or polyurethane sealant bonded directly to the roof. 2. No drilling; minimal roof preparation (clean, dry surface). 3. Faster install (1–2 hours for a 100W panel). 4. Easier removal if you need to reseal the roof or upgrade.
Per owner reports on r/vandwellers, adhesive-mounted flexible panels stay secure through highway driving and rough terrain. A few users reported edge lifting in extreme heat (80°C+ roof temps), but resealing with sealant solved it.
Wiring best practices: - Run positive and negative cables in separate conduit to avoid shorts. - Use marine-grade tinned copper wire (resists corrosion). - Install a DC disconnect switch between the panels and charge controller (safety + maintenance access). - Size wiring for no more than 3% voltage drop; a 100W panel at 12V draws ~8A, so 10-gauge wire works for runs under 20 feet.
Charge Controllers: MPPT vs. PWM
Your charge controller converts panel output to battery voltage and prevents overcharging. Two types dominate:
PWM (Pulse Width Modulation) controllers are budget-friendly and work well with small arrays (≤200W). They waste ~15–20% of available power as heat but cost less and are simpler to install.
MPPT (Maximum Power Point Tracking) controllers extract 25–30% more energy from the same panel array by dynamically adjusting the voltage. They cost more upfront but pay for themselves in extra amp-hours over 3–5 years, especially in cold or cloudy climates. Per long-running comparisons on r/solarpower, MPPT is standard in 2026 van builds.
For a 300W array, a 60A MPPT controller (like the Victron SmartSolar 100/60) handles the load with headroom. The Victron SmartSolar 100/30 is suitable for smaller 200W arrays. Oversizing the controller (100A for a 300W array) doesn’t hurt and gives future expansion room.
Real-World Performance: Weather, Angle, and Seasonal Variation
Van solar output depends heavily on:
- Season: Winter output drops 40–60% in northern climates; equatorial regions see minimal variation.
- Angle: Panels mounted flat on a van roof (0° tilt) lose ~10–15% output vs. optimally angled (latitude ±15°). Most vans accept this trade-off for simplicity.
- Dust and dirt: A dusty panel loses 15–25% output. Regular rinsing helps; living in deserts or near construction sites requires monthly cleaning.
- Shading: Even partial shade (a tree branch, roof vent, or antenna) can halve output if it blocks bypass diodes. Position panels away from vents and equipment.
Per aggregated owner logs and NREL PVWatts calculator estimates, a 300W array in a temperate climate (40°N latitude) produces: - Summer: 1800–2400 Wh/day (6–8 peak sun hours) - Spring/Fall: 1200–1600 Wh/day (4–5 peak sun hours) - Winter: 600–900 Wh/day (2–3 peak sun hours)
These are system outputs (accounting for controller losses and wiring). Battery storage amplifies their value; without storage, excess midday power is wasted.
Durability and Long-Term Reliability
Per manufacturer warranties and owner reports:
- Rigid panels: 25–30 year lifespan; most retain 80%+ output at year 25. Frame corrosion is rare with aluminum; edge seals can fail in extreme UV after 15–20 years (doesn’t affect function, just looks weathered).
- Flexible panels: 10–15 year lifespan reported by owners; some degrade faster in intense UV (Arizona, Australia). Adhesive bonds typically hold 10+ years; edge lifting is rare but possible in extreme heat.
Both types are robust in van environments. Vibration from driving is not a concern; modern panels are designed for RV and marine use. The weakest link is usually the wiring and connectors, which corrode if not sealed properly.
Top Picks for Van Conversions
Our top picks across common scenarios:
For weekend trips with a 50Ah battery (tight roof space): Renogy 100W 12V Flexible Solar Panel — Adhesive-mount, weighs 3 lbs, fits curved roofs. Real-world output ~70–80W in typical conditions. Pairs with small portable battery for 2–3 days of autonomy.
For full-time nomads in temperate climates (200+ Ah battery): Renogy 400W Monocrystalline Solar Panel Kit — Includes MPPT controller, wiring, and breaker. Monocrystalline efficiency handles cloudy days better than polycrystalline; supports 5–7 days of autonomy.
For budget builds (100–150Ah battery): Renogy 200W Polycrystalline Solar Panel Kit — Proven track record in van fleets, easy to expand, lower cost per watt. Supports 3–4 days of autonomy in moderate climates.
For full-time nomads needing expandability (200+ Ah battery, 400W+ array): Victron Energy SmartSolar MPPT 100/50 — Premium controller; pairs with any rigid panel array, handles voltage fluctuations in hot climates better than budget controllers.
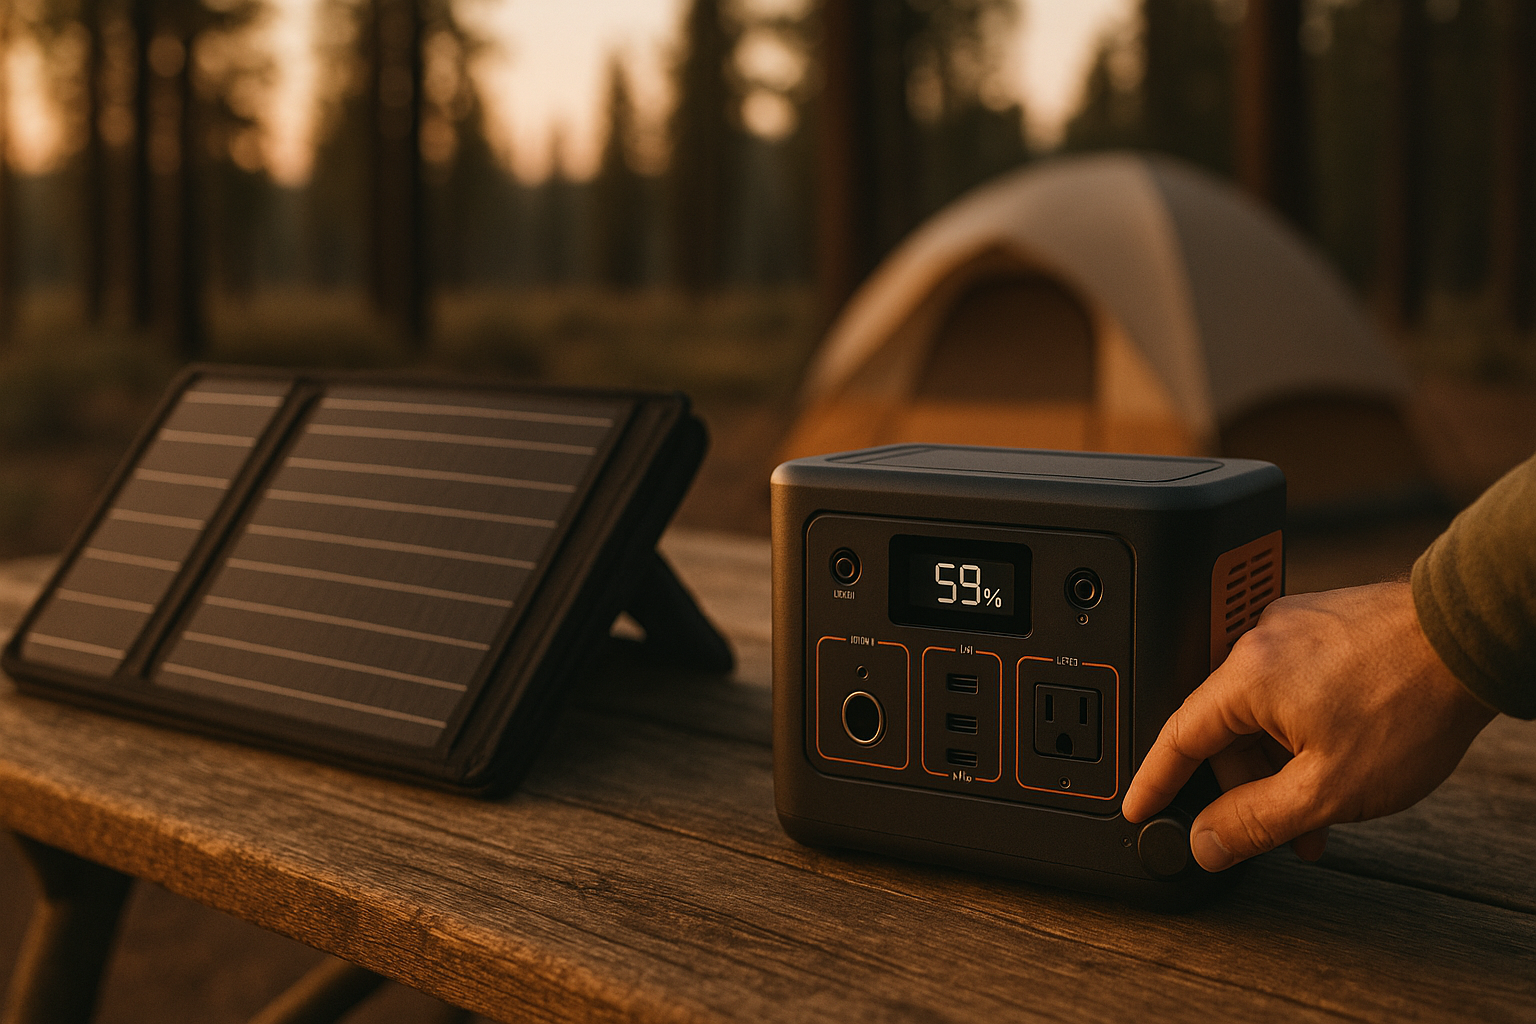
For renters or temporary installs (portable power station):
FAQ
Q: How do I know if my van roof can handle the weight of solar panels? A: A 300W rigid panel array weighs ~30–40 lbs. Most van roofs (aluminum or fiberglass) are rated for 50–100 lbs distributed load. Check your vehicle’s roof specifications or consult the manufacturer. Flexible panels (15–20 lbs for 300W) are safer if you’re unsure. Distribute weight evenly across multiple mounting points.
Q: What happens if a panel fails mid-trip? A: If one panel in a series string fails, the entire string stops producing power. If panels are wired in parallel (via a combiner box), a failed panel drops output proportionally but doesn’t kill the system. Most van builds use parallel wiring for this reason. Carry a spare 100W flexible panel as backup, or wire panels in parallel with individual breakers so you can isolate a failed unit.
Q: Can I use car roof racks to mount solar panels? A: Not reliably. Roof racks flex during highway driving, which stresses panel frames and connectors. Permanent bolted mounts or adhesive-backed flexible panels are safer. Some converters use roof racks as a temporary test, but they’re not a long-term solution.
Q: Do I need a battery to use solar panels? A: Technically no—you can wire panels directly to a load (fridge, lights) via a charge controller. But without storage, you waste midday power and have zero power at night. Lithium or lead-acid batteries (100–200Ah) are standard in van builds.
Q: How often should I clean my van solar panels? A: In dry climates, monthly or after dust storms. In rainy regions, rain cleans them naturally; manual cleaning 2–3 times per year is enough. Use soft brushes and deionized water to avoid mineral streaks.
Q: Will solar panels void my van’s warranty? A: Roof penetration (bolted mounts) may void roofing warranties on newer vans. Check your manufacturer’s terms. Adhesive-mounted flexible panels carry less risk but still require roof approval. Many converters accept the trade-off.
Closing Summary
Choosing solar panels for a van conversion comes down to three decisions: rigid vs. flexible (efficiency vs. weight and installation ease), monocrystalline vs. polycrystalline (performance vs. cost), and total wattage (based on your daily power consumption and storage capacity).
Most van converters land on 200–400W of rigid monocrystalline panels paired with an MPPT controller and 100–200Ah lithium battery. This setup provides 4–7 days of autonomy in cloudy weather and installed. Budget builds use polycrystalline and PWM controllers; high-demand nomads add flexible panels or expand to 600W+ arrays.
Start by calculating your actual daily amp-hour draw (fridge, lights, laptop, water heater), then size your array to replace 50–100% of that on an average sunny day. Oversizing the controller and leaving panel space for future expansion is cheap insurance.
For deeper dives into off-grid power, check out How Much Solar Power Do You Need for Camping? Wattage Calculator, Solar Power for RVs: Complete Setup Guide & Product Recommendations, and Lightweight Solar Generator for Van Life: Compact Options. If you’re also comparing solar generators or portable panels for weekend trips, Best Portable Solar Panels for Camping in 2026 and portable solar panels for camping reviews comparison cover those in detail.