How to Build a Solar Power System for Emergency Backup

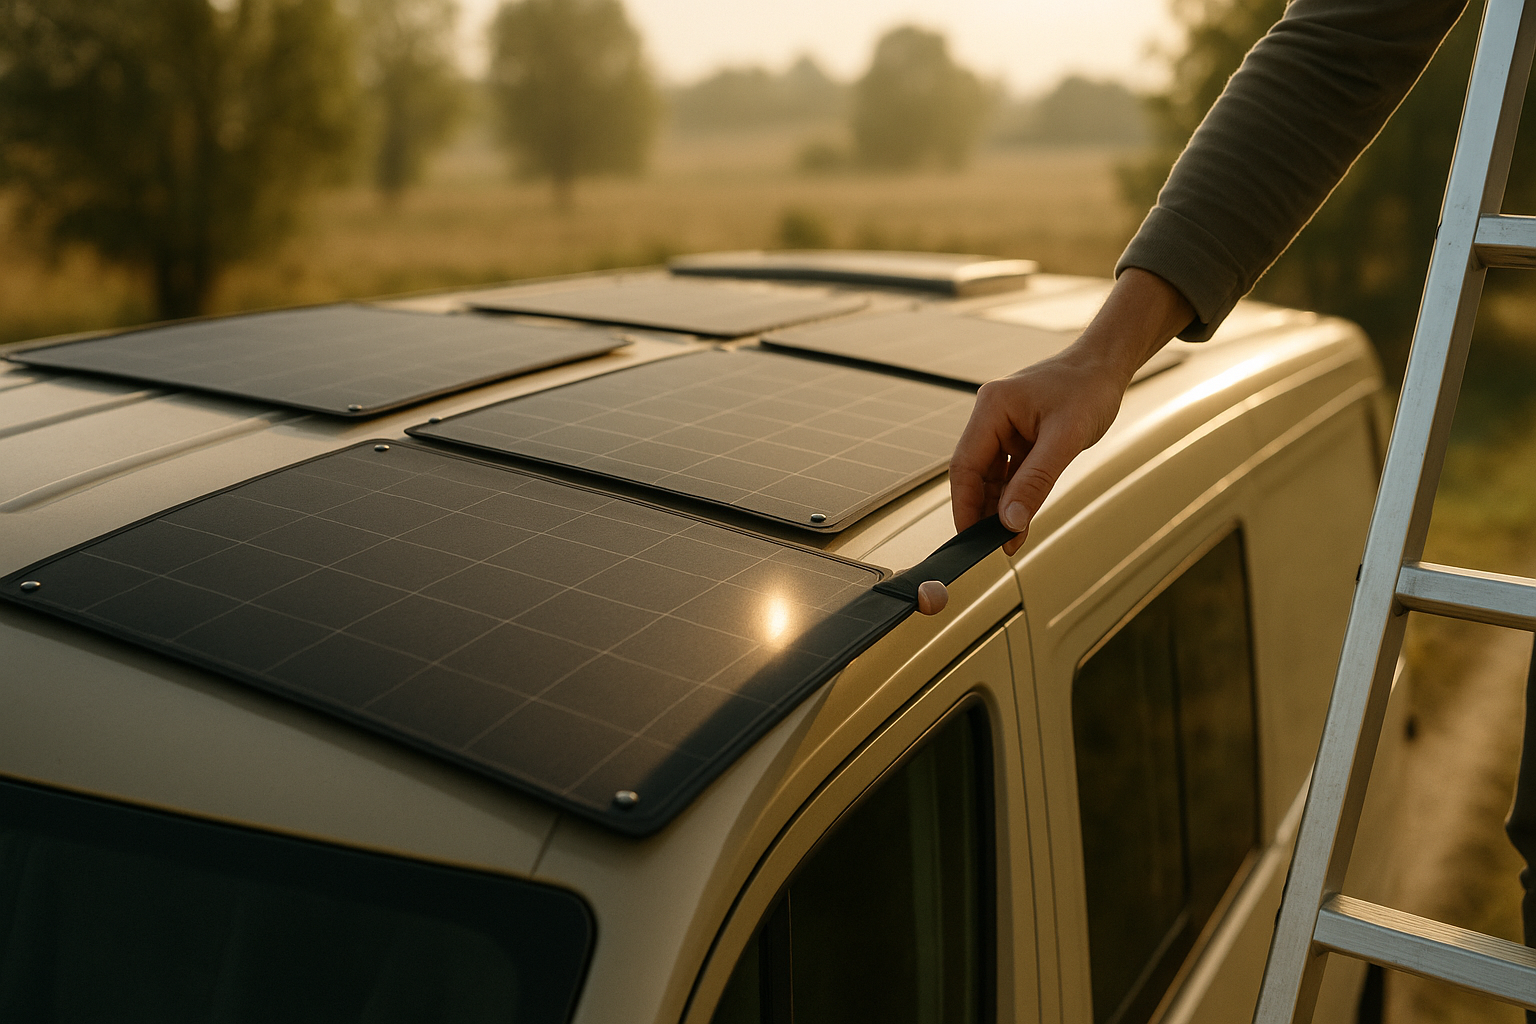
Photo by Sergio Martins on Unsplash
How to Build a Solar Power System for Emergency Backup
A properly sized solar setup with battery storage keeps your essential circuits running during multi-day outages without fuel trips or generator noise. This guide walks you through the core components, sizing logic, and assembly steps to build a system that actually works when you need it.
Why Solar Backup Beats Generators for Long Outages
A traditional gas generator runs loud, requires fuel storage (which degrades), and demands regular maintenance. A solar + battery system runs silently, needs no fuel, and lasts 25+ years. LiFePO₄ batteries retain 80% capacity after 10 years of daily cycling per manufacturer datasheets (LG Chem, Tesla, Generac), while lead-acid batteries degrade within 5–8 years.
For emergency scenarios lasting days or weeks—ice storms, grid failures, wildfire evacuations—solar is unbeatable because you’re not dependent on gas availability or noise restrictions. Solar Generator vs Traditional Generator: Pros, Cons & Cost Analysis compares the economics in detail; this guide focuses on building the system itself.
Component 1: Solar Panels (Capture)
Your panels are the energy source. For emergency backup, you need enough capacity to recharge your battery bank on a typical sunny day.
Wattage sizing: - A 3–4 kW array (roughly 8–10 panels at 400W each) will fully recharge a mid-sized battery bank (10–15 kWh) in one day of good sun, per the NREL solar sizing calculator and installer guides from Sunrun and Vivint Solar. - For smaller systems (5–10 kWh battery), 2–3 kW of panels suffices. - If you live in a cloudy climate or want faster recharge, oversize to 5–6 kW.
Panel type: - Monocrystalline (most common): ~20% efficiency, 25-year lifespan per manufacturer spec sheets (Panasonic, SunPower). Best for limited roof space. - Polycrystalline: ~17% efficiency, slightly cheaper, same lifespan. Fine if you have roof area to spare. - For emergency backup, avoid flexible thin-film panels; they degrade faster and are harder to replace if damaged.
Mounting: - Roof-mounted (most efficient): Fixed south-facing angle at your latitude, typically 30–45° in the northern hemisphere. Requires roof assessment and permitting ( for structural engineering and permits). - Ground-mounted (most flexible): Easier to adjust seasonally, easier to maintain. Needs cleared ground space. Installation typically takes 2–4 weeks including permitting. - Pole-mounted hybrid: Combines benefits; allows seasonal angle adjustment and ground clearance for snow/water drainage.
For a DIY install, roof-mounted is standard. Hire a licensed electrician to handle the roof penetrations and electrical code compliance.
Component 2: Battery Storage (The Heart of Backup)
Your battery bank stores solar energy for use at night or during cloudy stretches. This is the most expensive component but also the most critical for emergency reliability.
Capacity sizing: - Determine your daily load in kWh. Example: If you want to run a fridge (1.5 kWh/day per EnergyStar estimates), lights (0.5 kWh), and a furnace fan (0.8 kWh/day per HVAC manufacturer specs) = 2.8 kWh/day. - Add 20–30% headroom for inefficiency and cloudy days: 2.8 × 1.25 = 3.5 kWh minimum. - For true emergency backup (3–5 days of no sun), multiply by 3–5: 3.5 × 4 = 14 kWh recommended.
Battery chemistry:
- Lithium iron phosphate (LiFePO₄): 10,000+ cycle lifespan (25+ years), 90%+ round-trip efficiency, no maintenance. Per Tesla Powerwall and LG Chem RESU datasheets, most LiFePO₄ systems retain 80% capacity at 10 years. Premium-tier cost but best for emergency backup.
- Lead-acid (flooded or sealed AGM): 1,000–3,000 cycles (3–8 years), 80% efficiency, requires maintenance (flooded type). Budget-tier; avoid for critical backup unless you’re willing to replace every 5–7 years.
- Saltwater/sodium-ion: Emerging, non-toxic, cheaper than lithium, but less efficient (~75%) and still limited long-term data. Mid-tier option if budget is tight.
Recommendation for emergency backup: LiFePO₄ is the standard because it handles daily cycling without degradation and won’t fail mid-emergency due to sulfation or memory effect.
Popular systems and scenarios:
- Tesla Powerwall (13.5 kWh, ~): Best for homes wanting a single integrated unit with app monitoring. Pairs well with Tesla solar panels; works with any inverter. Choose this if you prioritize simplicity and don’t need modular expansion.
- LG Chem RESU10H (10.3 kWh, ~): Best for homes with existing solar systems or non-Tesla inverters. Modular (stack up to 3 units for 30+ kWh). Choose this if you want flexibility to expand later.
- Generac PWRcell (modular 5–15 kWh, ~): Best for homes wanting true modularity and a hybrid inverter included. Expandable in 5 kWh increments. Choose this if you plan to grow your system or want all-in-one wiring.
For a 3–5 day outage in a cloudy climate with 3 kWh/day essential load, a 15 kWh LiFePO₄ battery (e.g., 2× LG Chem RESU10H or 3× Generac PWRcell 5 kWh modules) + 4 kW solar array installed.
Component 3: Inverter (Convert DC to AC)
Solar panels and batteries output direct current (DC); your home runs on alternating current (AC). An inverter converts DC → AC.
Inverter types:
- String inverter (most common, lowest cost): Single device converts all DC from panels to AC. If one panel fails, output drops. Budget-tier, suitable for small systems (3–5 kW).
- Microinverters (one per panel): Each panel has its own inverter. If one panel fails, others continue. Easier to expand. Mid-tier cost, best for shaded roofs.
- Hybrid inverter (battery-integrated): Manages both solar input and battery charging/discharging in one device. Premium-tier, simplest wiring, most reliable for emergency backup. Examples: Generac PWRcell inverter, Enphase IQ Battery, SolarEdge StorEdge.
Sizing: - Inverter capacity should be 1.5–2× your peak load. If you run a 5 kW air conditioner + 2 kW microwave simultaneously, you need at least 7 kW inverter capacity. - For emergency backup (fridge, lights, furnace fan = ~2 kW peak), a 5–6 kW hybrid inverter is sufficient.
Key spec: Look for surge capacity (handles motor startup spikes). Per manufacturer specs, most inverters list continuous rating (steady load) and surge rating (30-second peaks). Your inverter’s surge must exceed your largest single-load startup (e.g., well pump motor = 3–5 kW surge).
Component 4: Charge Controller (Regulates Solar Input)
The charge controller sits between solar panels and batteries, preventing overcharge and optimizing charging efficiency.
Two main types:
- MPPT (Maximum Power Point Tracking): 95%+ efficiency, adjusts voltage dynamically to extract maximum power from panels. Mid-tier cost. Standard for systems over 3 kW.
- PWM (Pulse Width Modulation): 70–80% efficiency, simpler, budget-tier. Only suitable for very small systems (< 2 kW).
Sizing: - Match amperage to your panel array. A 4 kW array at 48V DC outputs ~85 amps; you need a controller rated for 100+ amps (20% safety margin per National Electrical Code). - Voltage: 48V systems are standard for residential backup (safer than 12V or 24V, lower losses than higher voltages).
Many hybrid inverters include a built-in MPPT controller, simplifying the design.
Component 5: Wiring, Breakers & Safety
Improper wiring is the #1 cause of solar system fires and failures.
DC side (panels to battery): - Use UV-rated, stranded copper wire sized per National Electrical Code Table 310. A 4 kW array at 48V needs 2/0 or 3/0 AWG wire (roughly 0.1 inches diameter). - Install DC breakers or fuses on the positive line between panels and controller, and between controller and battery. - Use a DC disconnect switch (allows safe shutdown for maintenance).
AC side (inverter to panel): - Install an AC breaker between inverter and main panel, sized to inverter output (e.g., 50 amp breaker for a 12 kW inverter at 240V). - Use a manual transfer switch to select between grid power and solar backup (prevents backfeeding the grid, which is illegal and dangerous).
Grounding: - Tie all DC and AC grounds together at a single point (the battery negative terminal or main panel ground bar). - Install a lightning arrestor on the DC side to protect against surge damage.
Permitting: - Most jurisdictions require permits for solar + battery systems over 5 kW. Hire a licensed electrician; the permit cost (typically ) is worth the safety inspection and code compliance.
Home Generator Sizing Guide: How Many Watts Do You Really Need? covers load calculation in detail; apply the same logic to your solar system.
Step-by-Step Assembly Workflow
-
Plan your load. List every appliance you want to run during an outage (fridge, lights, furnace fan, well pump, etc.). Sum their wattage and daily hours to get total kWh/day. Use EnergyStar appliance data for accuracy.
-
Size battery capacity. Multiply daily kWh by 3–5 (for 3–5 days of cloudy weather). This is your usable capacity. Add 20% for losses → final battery size. Example: 3 kWh/day × 4 days × 1.2 = 14.4 kWh → choose 15 kWh LiFePO₄.
-
Size solar array. Divide final battery capacity by 0.8 (accounting for charging losses and cloud days). This is your minimum panel wattage. Add 25% if you live in a cloudy region. Example: 15 kWh ÷ 0.8 = 18.75 kW minimum → choose 4 kW array for typical climates.
-
Choose components. Select a hybrid inverter (simplest for backup), LiFePO₄ battery bank, and MPPT-equipped panels or a separate MPPT controller. Example bundle: Generac PWRcell 5 kWh × 3 + Generac PWRcell hybrid inverter (10 kW) + 4 kW Panasonic monocrystalline panels.
-
Install panels. Roof or ground mount, south-facing (northern hemisphere), at your latitude angle or slightly steeper for winter performance. Use Unirac or IronRidge mounting hardware (industry standard). Roof installation typically labor + permitting.
-
Run wiring. DC from panels to controller to battery, AC from inverter to home panel via transfer switch. Use proper gauge, breakers, and disconnects per code. Have an electrician verify all connections before energizing.
-
Commission and test. Have an electrician verify voltage, polarity, and grounding. Test the transfer switch and confirm the system charges the battery on a sunny day. Document baseline voltage and current readings.
-
Document. Keep wiring diagrams, component datasheets, and permit records for future maintenance and insurance claims.
Maintenance & Monitoring
Solar backup systems are largely passive, but a few habits extend lifespan:
- Check connections quarterly: Tighten any loose terminals (heat degrades connections).
- Monitor battery voltage: Most systems include a display or app. If voltage drifts below expected range, investigate.
- Clean panels annually: Dust and bird droppings reduce output by 5–15% per a 2020 NREL study on soiling losses. Rinse with a soft brush and water; avoid abrasive cleaners.
- Replace fuses/breakers if tripped: Repeated trips indicate a fault; have an electrician investigate.
- Update inverter firmware: Manufacturers release efficiency and safety patches; apply them annually.
For LiFePO₄ batteries, there’s no maintenance beyond these checks. Lead-acid systems require monthly water top-ups (flooded type) or replacement every 5–7 years.
FAQ
Q: What’s the difference between a hybrid inverter and a string inverter for backup? A: A hybrid inverter manages both solar input and battery charging/discharging in a single device, automatically switching between grid, solar, and battery power. A string inverter only converts solar DC to AC and requires a separate battery management system and transfer switch. For emergency backup, hybrid is simpler, more reliable, and requires less wiring. String inverters are cheaper upfront but add complexity and failure points.
Q: How do I know if my roof can handle solar panels? A: Hire a structural engineer to assess roof age, pitch, and load-bearing capacity. Most roofs built after 1980 can handle 4–6 kW of panels (about 50 lbs/sq ft). If your roof is near end-of-life (15+ years for asphalt shingles), replace it before installing panels to avoid removing them later. South-facing roofs with 15–40° pitch are ideal.
Q: Can I use my solar backup system to power my whole house? A: Yes, if your battery and inverter are sized accordingly. A 20 kWh battery + 10 kW inverter can run most homes for a day or two. However, this requires 8–10 kW of solar panels and installed. Most backup systems are sized for essentials only (fridge, lights, furnace, well pump) to keep cost and complexity manageable at.
Q: What happens if the grid comes back while I’m running on battery? A: Your transfer switch disconnects the battery and inverter, and the grid takes over. Modern hybrid inverters do this automatically in milliseconds. No disruption to your loads.
Q: How often do I need to replace the battery? A: LiFePO₄ batteries last 25+ years per manufacturer specs and retain 80% capacity at 10 years of daily cycling. Lead-acid lasts 5–8 years. If you size your battery correctly and avoid deep discharges below 20%, you’ll likely never replace it during home ownership.
Q: Can I start with a small system and expand later? A: Yes, if you choose a modular inverter (like Generac PWRcell) or a hybrid system with expansion ports. String inverters and fixed battery banks are harder to expand. Plan for future growth when choosing components.
Q: Do I need a permit? A: Most jurisdictions require permits for systems over 5 kW or any grid-tied system. Permits but provide code inspection, insurance coverage, and legal protection. Skipping permits voids warranties and creates liability.
Summary
A solar emergency backup system combines panels (capture), batteries (storage), an inverter (conversion), and a charge controller (regulation) into a resilient power supply. Start by sizing your battery to 3–5 days of essential loads, then oversize your solar array by 25% for cloudy climates. Choose LiFePO₄ batteries for longevity, a hybrid inverter for simplicity, and hire a licensed electrician for wiring and permitting.
For most homes, a 10–15 kWh LiFePO₄ battery + 4 kW solar array installed and covers essentials through multi-day outages. This bundle (e.g., 3× Generac PWRcell 5 kWh modules + 4 kW Panasonic panels + Generac hybrid inverter + labor + permitting) runs silently with minimal maintenance for 25+ years.
Emergency Power Outage Kit: What Every Household Needs details how to prioritize loads for your specific home. Home Power Outage Survival Guide: Backup Plans for Every Room covers non-solar backup strategies (portable generators, battery banks) for comparison.